How to Cut Embroidery Blouses with Perfect Accuracy Using Laser Camera Software
For boutique owners, garment manufacturers, and tailoring professionals, cutting a pre-embroidered blouse is often one of the most stressful parts of production. Traditional manual cutting methods or standard laser setups can easily lead to centering issues. If the alignment is off by even a few millimeters, the entire intricate design—and expensive fabric—is completely ruined.
To solve this, Fashion Dot introduced an advanced, top-down camera system integrated with Tailoring CAD software. This technology completely eliminates cutting master errors, maximizes fabric efficiency, and drastically speeds up boutique production.
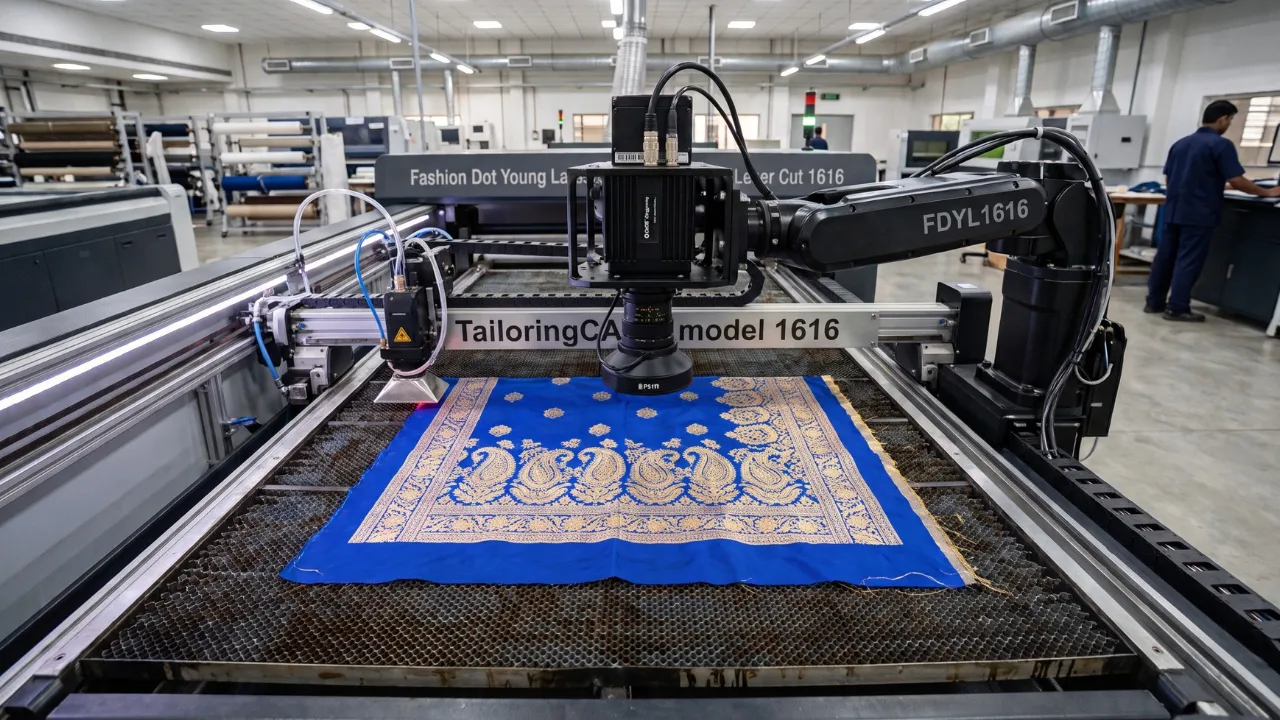
The Common Challenge in Embroidery Cutting
When cutting blouses that already feature custom necklines, back designs, or detailed sleeve embroidery, precision is everything.
- The Problem: If a standard laser head miscalculates or if the fabric is laid down slightly askew, the laser can cut right into the premium embroidery work.
- The Human Error: Tailoring shops frequently express how difficult and time-consuming it is for manual cutting masters to get these cuts perfectly centered every single time.
- The Consequences: A minor misalignment means a ruined piece, wasted raw material, and a frustrated client.
The Solution: Real-Time Camera Nesting via Tailoring CAD
By integrating the Tailoring CAD camera software system, businesses gain an exact digital layout before a single laser cut is made.
1. Real-Time Fabric Capture
The overhead camera captures a live, high-resolution photo of the fabric exactly as it sits on the laser bed. This image is immediately synced and displayed on your computer software screen in real time.
2. Digital Design Preview & Alignment
With the live fabric view on your screen, the software overlays the digital pattern diagrams (the cutting lines) directly on top of the physical embroidery design.
3. Precise Visual Nesting
Users can interactively position and adjust the digital patterns on screen:
• Align the back panel perfectly with the back embroidery.
• Route the front panel precisely around existing work.
• Seamlessly arrange sleeve designs to match the embroidered details perfectly.
[ Overhead Camera Setup ]
│
▼ (Captures Live Layout)
[ Real-Time Software Screen ] ──► (Overlay Digital Patterns onto Embroidery)
│
▼ (Confirm Perfect Alignment)
[ Flawless Laser Cutting ]

Beyond Embroidery: Versatile Cutting Features
The Tailoring CAD camera system isn't just for embroidery—it simplifies several other complex textile challenges:
- Handling Sleeve Joint Additions: If a blouse sleeve requires extra fabric joints to reach a larger size, the software automatically calculates, finds, and cuts the matching joint pieces seamlessly.
- Flawless Shirt Line Matching: For striped or checkered fabrics, the software helps align the patterns perfectly across seams for a high-end, bespoke look.
- Border Alignment: It ensures that structural borders on fancy sarees, blouses, or traditional wear are utilized perfectly without getting clipped or misaligned.
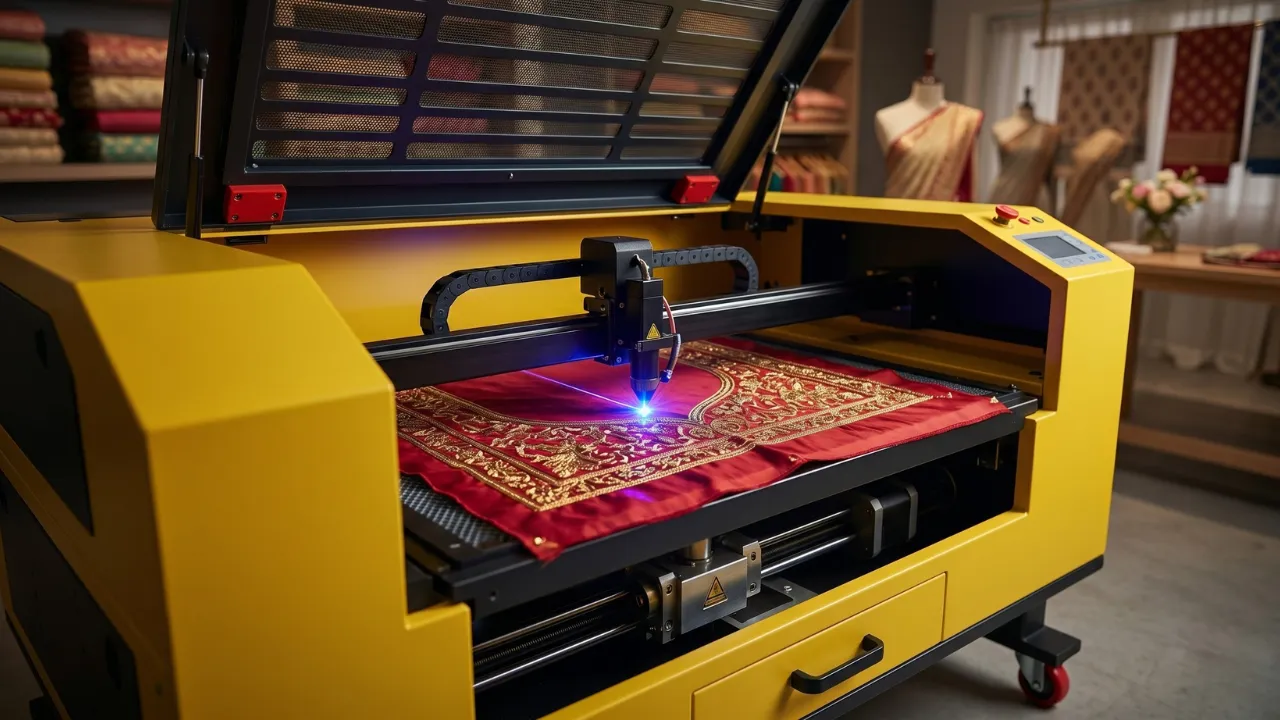
By switching from manual guesswork to the automated Tailoring CAD camera system, you protect your materials from costly cutting errors, save hours of manual placement time, and deliver perfectly symmetrical, beautifully finished clothing to your customers.
The Order of Operations for Embroidered Blouses
Accuracy on an embroidered blouse is decided by sequence more than by skill at the machine:
- Draft the blouse to the customer’s measurements, seam allowance included.
- Mark the motif position on the pattern, measured from the centre and the shoulder line.
- Transfer to uncut fabric, leaving generous margin around the piece.
- Complete the embroidery while the fabric is still whole.
- Re-measure the panel — heavy work pulls it in, sometimes by half an inch.
- Lay the pattern again on the finished panel and cut.
Cutting first and embroidering second is faster right up until the moment a piece comes off the frame the wrong size.
Where Laser Cutting Helps and Where It Does Not
| Situation | Laser | Scissors |
|---|
| Net and tissue with heavy work | Sealed edge, no fraying | Frays before assembly |
| Fine cotton | Works, but no real advantage | Perfectly adequate |
| Sequin and bead panels | Avoid over the beads themselves | Cut by hand around the work |
| Repeating identical panels | Identical every time | Small differences accumulate |
| Velvet | Test first; heat can mark the pile | Safer |
Handling Shrinkage After Framing
- Cut the fabric panel at least two inches larger than the pattern on every side before framing.
- Measure the panel again after the work is finished, not before.
- Note the shrinkage on the order sheet; the same design on the same fabric will behave the same way next time.
- For a pair of sleeves, frame both before cutting either, so they shrink equally.
Frequently Asked Questions
Should embroidery be done before or after cutting?
Before, on an uncut panel with the pattern marked. It is the only way to absorb the shrinkage that framing causes.
Can a laser cut through embroidery?
It can cut the fabric around the work cleanly. Do not run it over beads, sequins or metal thread.
How much extra fabric should be allowed?
Two inches on every side of the pattern piece for framed work, more for full back panels.
Why do the two sleeves come out different?
They were framed separately. Frame both, then cut both.
Does the pattern change for embroidered fabric?
The shape does not, but the cut allowance does. Store the allowance with the pattern so the next order does not repeat the mistake.
Scale Your Boutique Production Today
Want to see it in action? Bring unmatched accuracy to your production floor. Book your live, free demonstration today by contacting Fashion Dot Young Laser India Private Limited at 8448638639. |
|---|