Look at the cuff of a good formal shirt. The opening above it is closed by a narrow tower with a pointed top, stitched in a neat box, lying flat against the arm. Now look at a rushed one: the placket twists towards the front of the wrist, the top corner puckers, and after a few washes the stitching at the top starts to pull open.
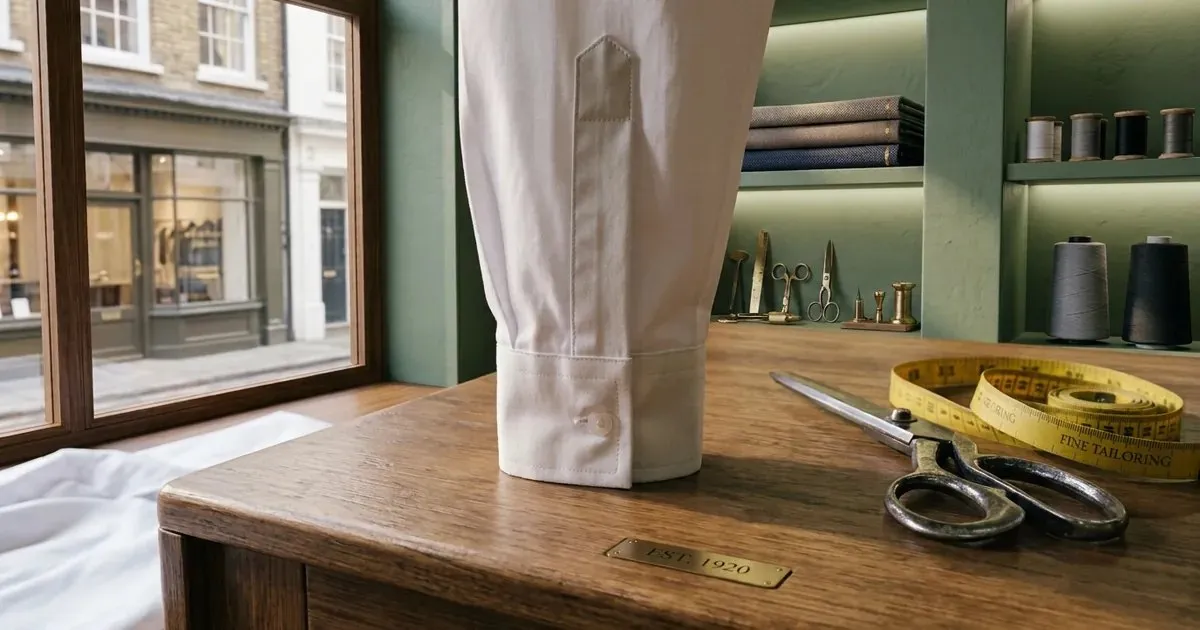
The cuff end of a white cotton shirt sleeve on a tailoring table showing a neat tower placket and buttoned cuff, with shears and a measuring tape beside it
The sleeve placket is the opening that lets the hand through a buttoned cuff. It is small, but it is in full view whenever the customer lifts an arm, and it takes strain every time the cuff is fastened. That is why a shirt with a perfect body can still look cheap at the wrist.
Its position, its length and the corner at the top decide everything.
In this guide you will find:
- Why sleeve plackets twist, pucker or tear
- Which placket to use and how long to cut the opening
- The cutting sizes for every placket piece
- How to mark and cut the opening
- How to sew a tower placket and a bound placket
- How the fabric changes the placket
Why Sleeve Plackets Go Wrong
Four reasons, and three of them are decided before the sleeve is cut.
The Opening Was in the Wrong Place
The placket belongs on the back half of the sleeve, roughly halfway between the underarm seam and the centre of the sleeve, in line with the little finger. Placed at the centre, it twists to the front of the wrist and shows every time the arm moves.
The Opening Was the Wrong Length
Too short, and the hand will not pass through the fastened cuff. Too long, and the placket gapes above the cuff and shows the arm. The length depends on the type of placket and on the cuff.
The Top Corners Were Not Clipped Correctly
The opening is cut as a slit with two small diagonal clips at the top. If the clips stop short, the corners pucker; if they go too far, the cloth frays through the stitching. Clip exactly to the stitching line, never past it.
The Top Was Not Reinforced
Every time the cuff is pulled, the strain lands on the top of the placket. Without a stitched box, or a box with a cross through it, the top seam slowly pulls open.
Which Placket and How Long
These are working figures in inches, measured from the sleeve hem before the cuff is attached.
Placket type | Opening length | Finished width | Where it is used |
|---|
Tower placket | 5.50 to 6.00 | 1.00 on top | Formal gents shirts |
Continuous bound placket | 3.00 to 4.00 | About 0.375 | Ladies' shirts, kids' shirts |
Faced slit | 3.00 to 3.50 | None; faced inside | Kurta and blouse sleeves |
Seam opening | 3.00 | None; at the seam | Casual shirts, kurtas |
Short-sleeve shirt | No placket | – | Hem turned without a cuff |
The sleeve length, the wrist and the cuff figures come from our gents shirt cutting measurement chart. For kurta sleeves, see our kurta pyjama cutting measurement chart.
Cutting Sizes for Each Placket Piece
Piece | Cut length | Cut width | Notes |
|---|
Tower (overlap) piece | Opening + 1.50 | 2.50 | Pointed top; on the front edge of the slit |
Underlap strip | Opening + 0.50 | 1.25 | On the back edge of the slit |
Bound placket strip | 2 x opening + 0.50 | 1.25 | Straight grain is enough |
Slit facing | Opening + 1.50 | 2.50 | Same grain as the sleeve |
Cuff | Wrist + 2.50 + seams | 2 x cuff height + seams | Interfaced on the outer half |
Light interfacing on the tower piece and the cuff keeps them crisp; which one to use is in our interfacing guide for tailors.
How to Mark and Cut the Opening
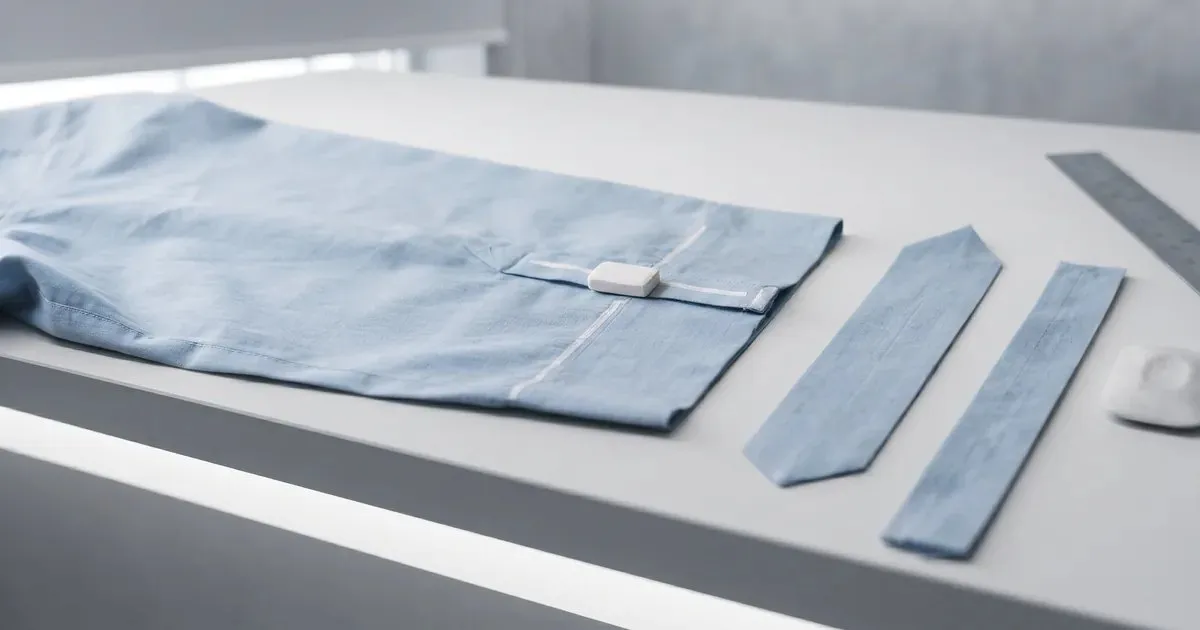
A shirt sleeve on a cutting table with the placket slit marked in chalk, a cut tower placket piece and an underlap strip beside it, with a steel ruler
- On the sleeve pattern, find the centre of the back half of the hem, between the back underarm seam and the centre of the sleeve, and mark the slit there.
- Draw the slit straight up from the hem, parallel to the grain line, to the opening length.
- Mark one or two small pleats between the slit and the centre of the sleeve, to bring the hem down to the cuff length.
- Mark a narrow box round the slit at the top, about 0.25 either side, as the stitching line.
- Cut the slit up the centre, then clip diagonally into both top corners of the box, exactly to the stitching line.
- Mark which edge is the front of the slit. The tower always goes on the front edge, nearer the thumb.
Sewing a Tower Placket and a Bound Placket
- Tower placket: sew the underlap strip to the back edge of the slit, press it over the raw edge, and top-stitch it down.
- Sew the tower piece to the front edge, fold it over to cover the slit and the underlap, and press the pointed top into shape.
- Top-stitch up the tower, across the top in a box, and through the box with a cross or a single line, catching the underlap and the clipped triangle inside.
- Bound placket: open the slit into a straight line, sew one long strip along it, then fold the strip over and stitch it down on the inside like a binding.
- Fold the bound placket so the front side lies over the back side, and stitch a short diagonal line at the top on the inside so it stays folded.
- Fold in the pleats, attach the cuff with the placket edges flush with the cuff ends, and press everything flat.
A bound placket is sewn the same way as any binding; see our guide to bias binding.
How the Fabric Changes the Placket
- Cotton and poplin – the easiest cloth for a tower placket; it presses to a sharp point.
- Linen – frays easily; reinforce the clipped corners with a few extra stitches.
- Silk – use a bound placket or a fine tower with light interfacing, and press with a low iron.
- Denim and heavy cotton – trim the seam allowances inside the tower to cut bulk at the top.
- Checks and stripes – cut the tower piece so its pattern matches the sleeve where it lies.
- Knits – avoid a tower placket; use a short faced slit or a cuff without an opening.
Sleeve Plackets in Tailoring CAD
In tailoring CAD the placket position is marked on the sleeve pattern from the sleeve hem width, so it always falls on the back half in the same place. The slit, the pleats, the tower and the underlap print as separate pieces, sized from the cuff and the opening length, and every shirt of the same size gets an identical placket.
Our tailoring CAD software page shows how shirt pieces are drafted from one set of measurements.
Questions Tailors Ask
Where should the sleeve placket be placed?
On the back half of the sleeve, about halfway between the underarm seam and the centre of the sleeve, in line with the little finger.
How long should a shirt sleeve placket be?
About 5.50 to 6 inches for a tower placket on a formal shirt, and 3 to 4 inches for a bound placket.
What is a tower placket?
A sleeve placket with a wide overlap that ends in a pointed top, like a small tower. It is the standard on formal shirts.
Why does the top of my placket pucker?
The corner clips stopped short of the stitching line, or the top was not stitched in a box. Clip exactly to the stitching and box-stitch the top.
Which side of the slit does the tower go on?
The front edge, nearer the thumb. The underlap goes on the back edge.
Why are there pleats next to the placket?
The sleeve hem is wider than the cuff. One or two small pleats beside the placket take in the difference so the sleeve fits the cuff.
Place It at the Back, Box the Top
A sleeve placket is a small piece that customers see every day. Place it on the back half of the sleeve, cut the opening to the right length, clip the corners exactly, and box-stitch the top, and the cuff will open and close neatly for the life of the shirt.
Book a free demo – on-site or online, in your language, with no commitment. Bring a shirt whose plackets keep twisting and we will draft the sleeve and cuff on screen.