Interfacing is the part of a garment nobody sees and everybody feels. It is why a collar stands, a placket stays straight and a waistband does not roll. It is also why a collar goes limp, a placket ripples and a blouse neckline bubbles after the first wash.
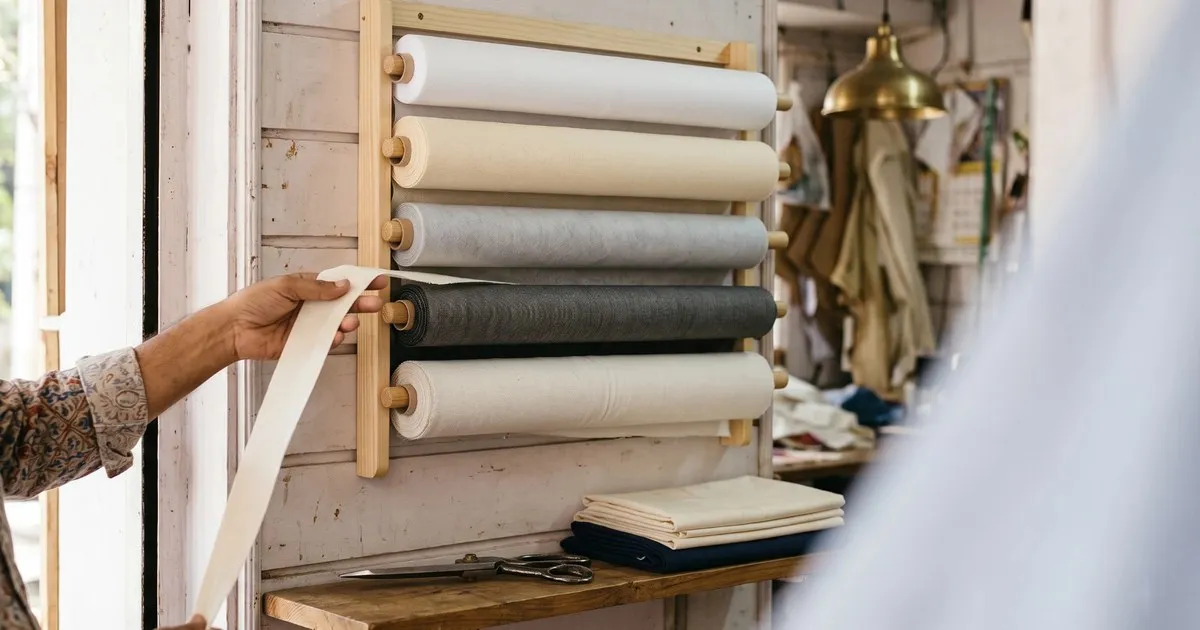
A rack of interfacing rolls in different weights and shades with a tailor's hand drawing a length off one roll
Most shops buy one or two interfacings and use them on everything. That works until the cloth changes. A medium interfacing that makes a poplin collar crisp makes a silk neckline stiff, and the same interfacing on a stretch fabric tears the cloth when it is worn.
This guide covers the interfacing types, which one goes where, how to fuse it so it stays put, and how to rescue a piece that has already gone wrong.
In this guide you will find:
- Why interfacing goes wrong, even when the cloth is good
- The interfacing types and what each one is for
- Which weight and type go on which part of a garment
- How to fuse it so it does not bubble or strike through
- How to match the interfacing to the fabric
- How to rescue a piece that has already gone wrong
Why Interfacing Goes Wrong
Four reasons, and all four happen before the iron comes down.
The Weight Was Wrong for the Cloth
Interfacing should support the cloth, not overpower it. A heavy interfacing on a light cloth makes a hard board where the cloth should bend, and a light one on heavy cloth does nothing at all.
It Was Cut on the Wrong Grain
A woven interfacing has a grain like cloth. Cut across the grain and it stretches where it should hold, and the piece it supports drifts out of shape.
It Was Fused Too Cool, Too Short or Too Wet
Fusing is heat, pressure and time. Miss any one and the glue does not bond. Too much steam on some interfacings makes the glue run through the cloth, leaving shiny spots on the right side.
It Was Left Full Size in the Seam
Interfacing that runs right to the raw edge adds a layer to every seam. The result is a hard ridge down the seam line that shows through the right side.
The Interfacing Types
Five kinds cover almost everything a shop stitches:
Type | Feel | Best for | Watch for |
|---|
Woven fusible | Firm, has a grain, little stretch | Shirt collar, cuff, waistband | Cut on the grain; may shrink before fusing |
Non-woven fusible | No grain, light to firm, inexpensive | Blouse and kurti necklines, facings | Can bubble after repeated washing |
Knit or tricot fusible | Soft, stretches in one direction | Silk, stretch cloth, knits | Easy to stretch the cloth while fusing |
Sew-in | No glue, flexible | Heavy, napped or delicate cloth | Slower; has to be stitched in |
Hair canvas | Springy, shapes the garment | Coats and tailored jackets | Costs more and needs hand work |
When in doubt, a medium non-woven is the safe default for light work, and a woven fusible for anything that has to stay crisp.
Which Interfacing Goes Where
A working guide to weight and type for each part of a garment. Treat it as a starting point, and test the first piece on a scrap of the same cloth.
Part of the garment | Type | Weight | Why |
|---|
Collar and collar stand | Woven or firm non-woven | Medium to firm | Keeps the collar crisp and stops it stretching |
Cuff | Woven fusible | Medium | Holds the buttonhole and the crease |
Placket | Woven or non-woven | Light to medium | Stops the strip stretching and carries the buttonholes |
Waistband | Firm woven | Heavy | Stops the band rolling and stretching |
Neckline and facing | Light non-woven or knit | Light | Holds the shape without a hard edge |
Zip opening | Narrow strip or stay tape | Light | Stops the cloth rippling beside the teeth |
Pocket flap and welt | Woven fusible | Medium | Keeps the flap flat and the slit sharp |
Hem on heavy cloth | Light bias strip | Light | Stops the stitch pulling the edge |
The collar, cuff and placket pieces this guide refers to are cut from the figures in our gents shirt cutting measurement chart.
How to Fuse It So It Stays Put
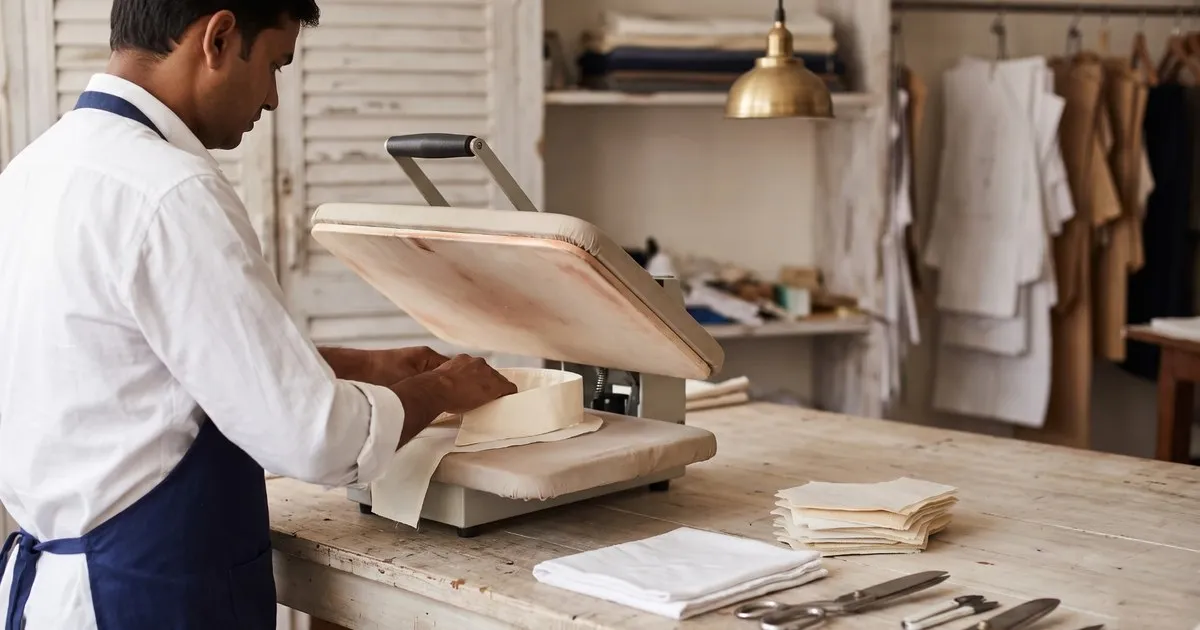
A tailor loading a cut collar piece with interfacing onto a flat fusing press
Fusing is a press, not an iron. The glue needs heat, pressure and time, and sliding the iron breaks all three:
- Pre-shrink the cloth first, by steaming or a short wash, so it cannot shrink away from the interfacing later.
- Place the rough, glue side of the interfacing against the wrong side of the cloth.
- Press down, do not slide. Hold for ten to fifteen seconds, then lift and move to the next patch, overlapping slightly.
- Use a pressing cloth, and set the heat for the cloth, not the interfacing. A cotton setting suits most woven work; lower for silk and synthetics.
- Let the piece cool flat before moving it. The glue sets as it cools, and a piece lifted warm will lose its bond.
- Test a scrap of the same cloth first and wash it. If the interfacing bubbles after the first wash, it will bubble on every piece you cut.
The final press matters as much as the fusing. Our guide to pressing, finishing and the delivery check covers it.
Matching the Interfacing to the Fabric
- Crisp cotton and poplin – a medium woven or non-woven. The cloth already has body, so a heavy one makes it board-like.
- Soft cotton, linen and georgette – a firmer weight, and a woven rather than a non-woven so the cloth does not ripple.
- Silk and satin – a light knit or weft-insertion type, fused at low heat with a cloth. Test first, because heat marks show.
- Stretch fabrics – a knit interfacing cut so it stretches with the cloth, never against it.
- Heavy twill, denim and canvas – a firm woven, with the seam allowance trimmed inside so the stitch is not through six layers.
- Velvet and napped cloth – a sew-in. A fusible crushes the pile and leaves a mark on the right side.
Which cloth suits which garment in the first place is covered in our guide to which fabric for which garment.
Cutting the Interfacing
- Cut woven interfacing on the same grain as the cloth. Non-woven has no grain, but check for a faint line down the roll.
- Cut the interfacing about a quarter inch smaller than the cloth piece on every edge that goes into a seam, so no extra layer sits in the seam.
- Trim the corners at an angle. A square corner in the seam gives a lump at every point of a collar.
- On a curve, snip or cut the interfacing in a slightly different curve so it does not pucker the cloth.
- Keep the leftover pieces sorted by weight. A drawer of mixed offcuts is where the wrong interfacing ends up on the wrong job.
The allowances the cloth itself is cut with are in the seam allowance guide for tailors.
Rescuing a Piece That Has Gone Wrong
- Bubbles after washing – the bond was weak. Re-press with more heat and a damp cloth, or replace the piece before it is sewn into a garment.
- Glue showing through on the right side – the heat was too high or the steam too heavy. A new piece is cheaper than trying to remove it.
- A stiff, board-like piece – the interfacing was too heavy. Re-cut the piece with a lighter weight; do not try to soften it.
- A ridge showing along the seam – the interfacing ran into the seam allowance. Trim it back and re-press from the wrong side.
- A piece that has shrunk away from the cloth – the cloth was not pre-shrunk. Replace the piece and steam the roll before cutting next time.
In tailoring CAD the interfacing shape is a piece in its own right. It is drafted slightly smaller than the cloth piece, named, counted and printed with the rest of the set, in every size. Nobody cuts it by tracing round the collar. Our tailoring CAD software page shows how the pieces come off the plotter.
Questions Tailors Ask
What is the difference between interfacing and interlining?
In most shops they are used for the same thing – the stiff layer inside a collar, cuff or placket. Strictly, interlining is a warm layer between the cloth and the lining, and interfacing is the stiffening layer. In a small shop the words are used interchangeably.
Which interfacing should I use for a shirt collar?
A medium woven fusible for most cotton shirts. Go firmer for a stiff collar on a formal shirt, and lighter on a soft cotton or a linen where a firm one would show.
Why does interfacing bubble after washing?
The bond was weak, usually from too little heat, too little pressure, or fusing onto cloth that had not been pre-shrunk. Test a scrap and wash it before cutting a run.
Should interfacing be cut on the grain?
Yes for woven interfacing, matched to the cloth. Non-woven has no grain, so it can be cut any way, though many have a faint stretch direction to avoid.
Can I iron interfacing on instead of using a press?
Yes, as long as you press and hold rather than slide. A press is faster and more even on a run of pieces, but a household iron with a pressing cloth is enough for a small shop.
Do I need interfacing on every garment?
No. Where the cloth has body and the part does not carry a button, a zip or a weight, it can go without. Collars, cuffs, plackets, waistbands and openings are where it earns its place.
Choose It Once, Use It Every Time
Interfacing is a decision about the whole garment, made when the pattern is drawn and the cloth is chosen. Once the weight, the type and the shape are written down for each part, the fusing is the easy step.
Book a free demo – on-site or online, in your language, with no commitment. Bring a collar that never stood properly and we will plan the interfacing on screen.