Side slits look like the simplest part of a kurti: stop the side seam, turn the edges, done. Yet they cause more returns than most people expect. The slit is so high that it opens at the waist when the customer sits, or so low that the kurti pulls across the hips when she walks. The top of the slit tears after a month, and the corners at the hem stick out in a lump.
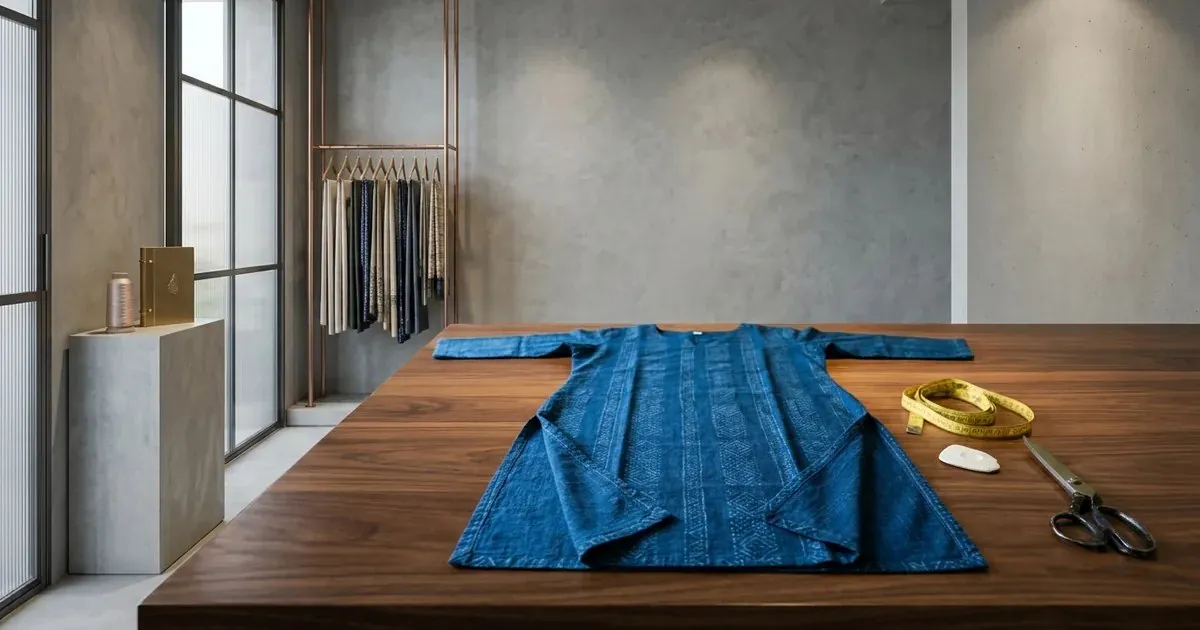
A printed cotton kurti laid flat on a tailoring table with neat side slits and mitred hem corners, with a measuring tape, chalk and shears beside it
A slit is there for movement. It lets the kurti open over the hips when the customer walks, sits or climbs a step. That makes its length a fitting decision, tied to the hip line, not a decoration chosen by eye.
Once the length is right, a clean finish is a matter of allowance and a few careful stitches.
In this guide you will find:
- Why kurti slits tear, gape or pull
- How long to make the slit for each kurti length
- Which slit finish to use and how much allowance it needs
- How to mark and cut the slit
- How to sew, reinforce and mitre it
- How the fabric changes the slit
Why Kurti Slits Go Wrong
Four reasons, and every one is decided at the cutting table.
The Slit Top Was Placed by Eye
The top of the slit should sit just below the hip line. Above it, the slit opens to the waist when the customer sits; well below it, the kurti strains across the hips. Mark the hip line on the side seam and measure the slit from there.
The Top of the Slit Was Not Reinforced
All the pull of walking and sitting lands on the last stitch of the side seam. Without a bar tack or a reinforcing triangle there, the seam unpicks and the cloth tears upwards.
There Was No Allowance to Turn
A normal side seam allowance is too narrow to turn and stitch neatly down a slit. The edges end up uneven or frayed. Cut the side seam wider from the slit top down to the hem.
The Hem Corners Were Folded Twice
Where the slit edge meets the hem, a double fold of side allowance and hem allowance makes a thick lump. A mitred corner removes the bulk and lies flat.
How Long to Make the Slit
Kurti length is measured from the shoulder; slit length from the hem up. These working figures put the slit top a little below the hip line on an average figure. All measurements are in inches; adjust for the customer's own hip line.
Kurti length | Slit length | Where the slit top sits | Notes |
|---|
32 (short kurti) | 6.00 to 7.00 | About 1.00 below the hip | Shorter slits look neater on short kurtis |
36 (mid-thigh) | 9.00 to 10.00 | About 2.00 below the hip | The most common daily-wear length |
40 (knee length) | 12.00 to 14.00 | About 2.00 below the hip | Enough for sitting and steps |
44 (below knee) | 16.00 to 18.00 | About 2.00 below the hip | Check the customer can sit cross-legged |
48 and longer | 18.00 to 22.00 | About 2.00 below the hip | Or no slit, with a flared hem |
Gents kurta, 40 | 8.00 to 10.00 | Well below the hip | Gents slits are shorter |
The kurti length and hip measurement come from our kurti cutting measurement chart. How to find the hip line on the customer is in our guide to taking body measurements for tailoring.
Which Slit Finish to Use
Finish | How it is done | Best for | Side allowance |
|---|
Turned and stitched | Edge turned twice and top-stitched | Cotton daily wear | 0.75 |
Faced slit | A separate facing sewn on and turned in | Silk, heavy and printed kurtis | 0.50 plus facing |
Mitred slit and hem | Slit edge and hem folded into a mitre | Most good-quality kurtis | 1.00 |
Bias bound slit | Edge bound with a bias strip | Sheer cloth, contrast look | 0.375 |
Slit with lace or piping | Trim set into the turned edge | Festive and designer kurtis | 0.75 |
A wider allowance also gives room to let the kurti out at the hip later. How much to leave on the side seam above the slit is in our seam allowance guide for tailors.
How to Mark and Cut the Slit
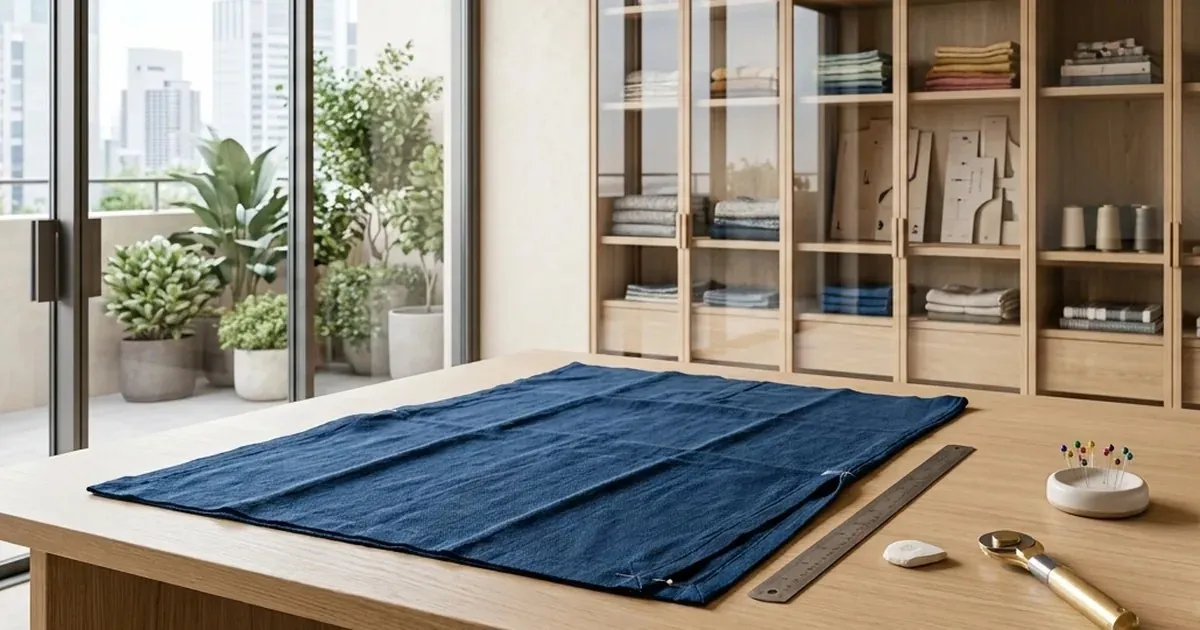
Navy cotton cloth folded flat on a cutting table with a pinned hem corner, beside a steel ruler, a piece of chalk and a rotary cutter
- Mark the hip line on the side seam of the front and the back, then mark the slit top the chosen distance below it.
- Notch the slit top on both pieces so the front and the back stop at exactly the same point.
- From the slit top down to the hem, widen the side seam allowance to suit the finish, usually 1.00 for a mitred slit.
- Cut the front and back hems to the same length unless the design calls for a longer back, and mark the hem fold line on both.
- For a mitred corner, mark where the slit fold and the hem fold cross, so the mitre can be folded accurately later.
- For a faced slit, cut the facing strips now, on the same grain as the side seam.
Sewing and Reinforcing the Slit
- Stitch the side seam down to the slit top notch and backstitch firmly at the notch.
- Press the seam allowances open all the way down to the hem, carrying the fold on past the slit top so both edges turn in a straight line.
- Fold the hem and the slit edge to their fold lines, crease them, then open them out and fold the corner across at the crossing point to form the mitre. Trim the corner and stitch the mitre.
- Turn the slit edges and the hem in, press, and top-stitch close to the fold, pivoting at the corners.
- Reinforce the slit top with a bar tack, a small stitched triangle, or a little square of the same cloth on the inside.
- Press the finished slit from the wrong side so the top-stitching sits flat.
A bias-bound slit is sewn the same way as any bias binding; see our guide to bias binding.
How the Fabric Changes the Slit
- Cotton and rayon – a turned and stitched or mitred slit works well; press firmly.
- Silk – use a faced slit, because silk frays and a narrow turned edge looks thin.
- Georgette and chiffon – bind the slit or use a narrow rolled edge, and line the kurti to the slit top.
- Heavy embroidery – keep the embroidery clear of the slit edge, and use a facing to carry the weight.
- Lined kurtis – face the outer cloth and the lining together at the slit so the lining cannot roll out.
- Stretch cloth – a slightly shorter slit is enough, because the cloth already gives over the hips.
Slits in Tailoring CAD
In tailoring CAD the slit top is placed from the hip line in the customer's measurements, not by eye. The wider allowance below the slit, the notch and the mitre lines are drawn on the front and back pieces, so both sides stop at the same point and the corners fold the same way every time.
Our tailoring CAD software page shows how kurti patterns are drafted from one set of measurements.
Questions Tailors Ask
How long should a kurti slit be?
Long enough for the top of the slit to sit about two inches below the hip line. On a knee-length kurti of about 40 inches, that is usually 12 to 14 inches.
Why does my kurti slit tear at the top?
The top was not reinforced. Backstitch at the slit top and add a bar tack or a small stitched triangle there.
How do I make a neat corner at the slit and hem?
Mitre it. Fold the slit edge and the hem to their fold lines, fold the corner across where they meet, trim and stitch. It removes the lump of a double fold.
How much seam allowance does a slit need?
About 0.75 for a turned edge and about 1.00 for a mitred corner, from the slit top down to the hem. Above the slit the normal side seam allowance is enough.
Should the front and back slits be the same length?
Usually yes. Some designs have a longer back panel; then mark both slit tops at the same height and let the difference be in the hem.
Do long kurtis need slits?
Not always. A long straight kurti needs a slit to walk, but an Anarkali or a flared kurti gets its movement from the flare and often has none.
Mark the Hip, Reinforce the Top
A slit is a small detail that decides whether a kurti is comfortable to wear. Place the top from the hip line, cut a wider allowance below it, mitre the corners and reinforce the top, and the slit will open when the customer moves and stay neat for the life of the kurti.
Book a free demo – on-site or online, in your language, with no commitment. Bring a kurti whose slits keep tearing and we will draft the side seams on screen.