A blouse can fit perfectly at the shoulder, the armhole and the waist, and still be sent back because of the hooks. The opening gapes between two of them, a strip of skin shows at the bust, or one hook pulls open every time the customer lifts her arm.
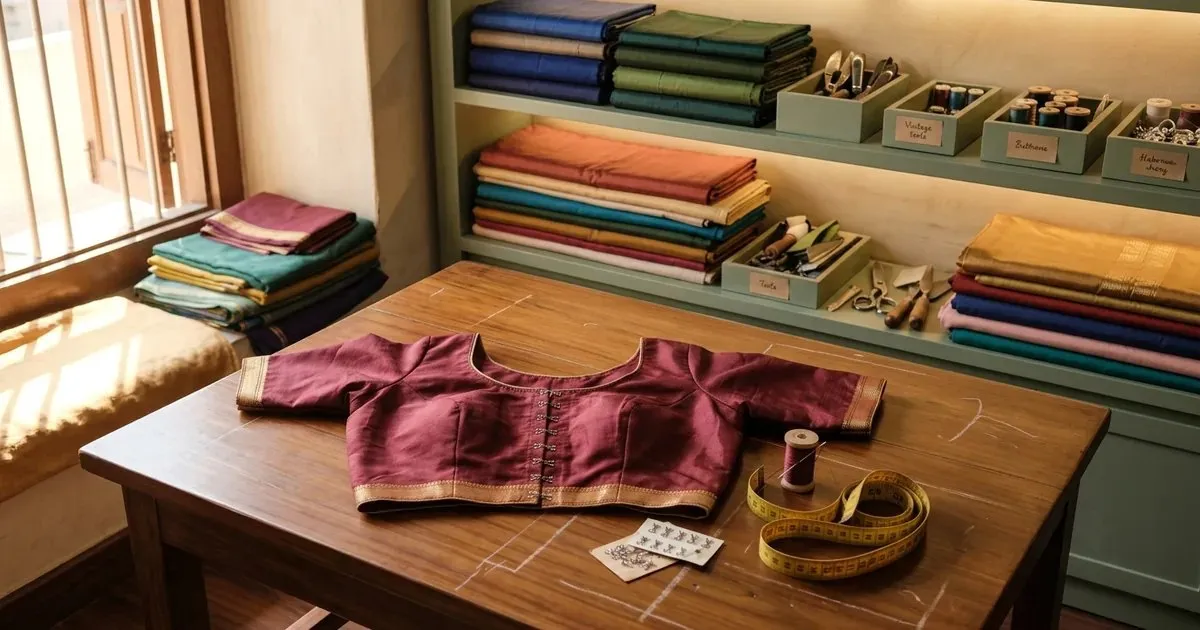
A maroon silk blouse laid closed on a tailoring table with its front opening fastened by a neat row of metal hooks, with a card of hooks and eyes and a spool of thread beside it
Hooks are the last thing put on a blouse, usually in a hurry, and usually spaced by eye. Yet the front opening takes more strain than any other part of the garment, and the strain is not even. It is greatest across the bust, and that is exactly where most gaps appear.
Getting it right is a matter of counting and marking, not skill.
In this guide you will find:
- Why blouse hooks gape or pull open
- How many hooks a blouse needs, and how far apart
- Which hook and backing to use for each fabric
- How to mark the hook positions on the opening
- How to sew hooks so they never pull out
- When to use buttons or a zip instead
Why Blouse Hooks Gape or Pull Open
Four reasons, and every one of them is decided before the first hook is sewn.
There Was No Hook on the Bust Line
The bust line is where the opening is pulled hardest. If the nearest hooks sit an inch above and an inch below it, the cloth between them bows open. Always place one hook exactly on the bust line and space the others from it. How to find the bust line on the customer is in our guide to taking body measurements for tailoring.
The Overlap Was Too Narrow
The eye side of the opening must sit under the hook side, so the two edges overlap. With no overlap the edges only meet, and any movement opens a gap between the hooks.
The Hooks Were Sewn Through the Outer Cloth Only
A hook sewn through a single layer of silk tears the cloth within a few wears. The opening needs a facing and a strip of interfacing behind it, and the hooks must be sewn through that backing.
The Hook Was Too Small for the Cloth
A small hook on a heavy embroidered blouse bends open under the weight. Match the hook to the fabric and to how tightly the blouse fits.
How Many Hooks a Blouse Needs
Measure the front opening from the finished neckline to the finished hem, then use the table. These are working figures; a close-fitting or heavy blouse can take one more. All measurements are in inches.
Opening length | Hooks | Average spacing | Where they go |
|---|
6.00 | 5 | 1.25 | Top, bust line, hem, and two between |
7.50 | 6 | 1.40 | Top, bust line, hem, and three between |
9.00 | 7 | 1.40 | Top, bust line, hem, and four between |
10.50 | 8 | 1.40 | Top, bust line, hem, and five between |
12.00 | 9 | 1.40 | Long opening; keep 1.00 spacing around the bust |
Keep the spacing a little closer, about 1.00, for the two hooks either side of the bust line, and a little wider towards the neck and the hem where there is less strain. The bust and front length figures the opening is cut from are in our blouse cutting measurement chart.
Which Hook and Backing for Each Fabric
The hook holds the blouse shut, but the backing is what stops it tearing out:
Fabric | Hook and eye | Backing behind the opening | Overlap |
|---|
Cotton | Small metal hook, metal or thread eye | Self facing, light interfacing | 0.75 |
Silk, pattu | Medium hook, metal eye | Facing and fusible interfacing strip | 0.75 to 1.00 |
Heavy embroidery, maggam | Medium or large hook | Firm interfacing and cotton tape | 1.00 |
Georgette, net | Small hook, thread eye | Organza or net facing strip | 0.75 |
Padded blouse | Medium hook or hook tape | Interfacing; hooks clear of the cup edge | 1.00 |
Which interfacing to use behind the opening is covered in our interfacing guide for tailors.
How to Mark the Hook Positions
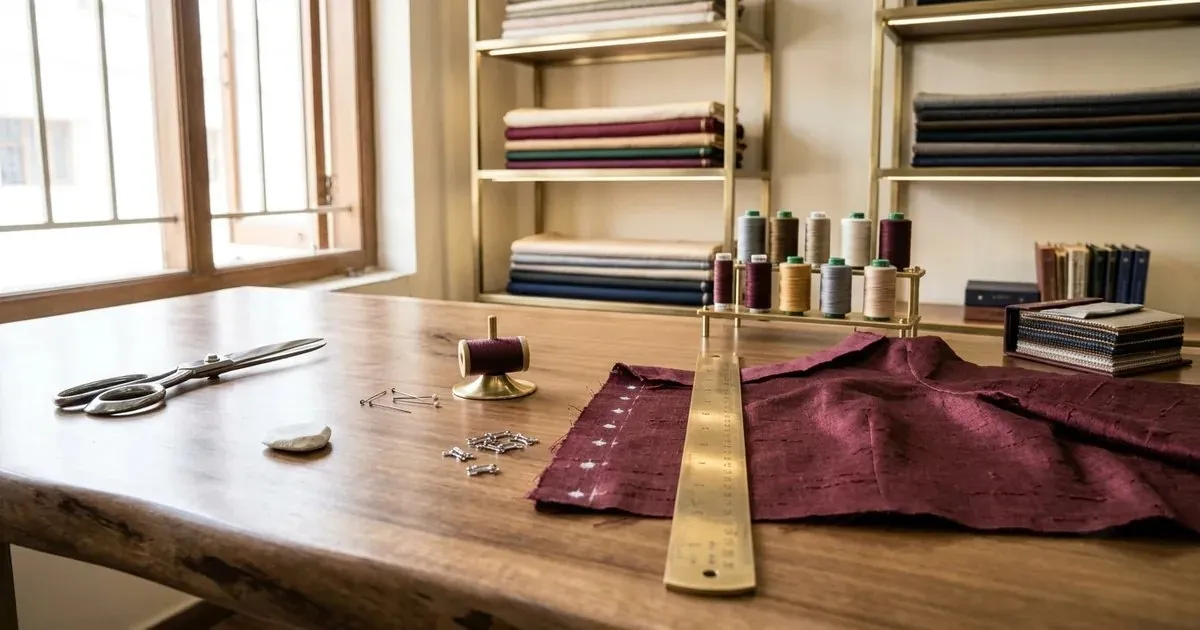
The edge of a maroon silk blouse opening on a cutting table with white chalk marks for each hook, loose hooks and a brass ruler beside it
- Finish the neckline and the hem first. Hooks are marked on the finished opening, never on the cut edge.
- Mark the bust line on the hook side of the opening. This is the first hook.
- Mark the top hook about 0.25 below the finished neckline and the bottom hook about 0.50 above the finished hem.
- Divide the space between them evenly, keeping the two spaces next to the bust line slightly closer.
- Set each hook about 0.125 back from the edge, so the metal does not show from the front.
- Pin the blouse closed with the correct overlap and mark each eye position through the hook side, so every pair lines up exactly.
Sewing Hooks So They Stay Put
- Sew through the facing and the interfacing, never through the outer cloth alone, so no stitch shows on the front.
- Use a doubled thread in the colour of the blouse, with a knot hidden inside the facing.
- Work four or five stitches through each loop of the hook, then two or three across the neck of the hook so it cannot tilt.
- Sew the eyes so they stand about 0.125 beyond the edge on a front opening, or are set back the same amount for an overlapping opening.
- Close each pair as you go. If one pair is tight or loose, move it now, not after all of them are on.
- On heavy and padded blouses, add a hook at the bottom band even if the table does not call for it. The band takes the pull when the customer sits.
Hooks, Buttons or a Zip?
- Hooks – the standard front opening. Flat, hidden and quick to undo; the right choice for most saree blouses.
- Buttons and loops – for a decorative front or back opening, especially on cotton and kalamkari blouses. Space them like hooks, with one on the bust line.
- Concealed zip – for a side or back opening on a heavy or close-fitting blouse, where a row of hooks would strain.
- Hooks with a tie-back – a back-open blouse with hooks below and a dori at the neck, which lets the customer adjust the fit.
How to set a zip that lies flat is covered in our guide to zip length and placement.
Blouse Hooks in Tailoring CAD
In tailoring CAD the front opening is drafted with its overlap and facing already added. The bust line is known from the measurements, so the hook positions can be marked on the printed pattern piece: the cutter transfers them with the notches, and the tailor never has to space them by eye.
Our tailoring CAD software page shows how every blouse piece is drafted from one set of measurements.
Questions Tailors Ask
How many hooks should a blouse have?
Most front-open saree blouses take five to seven hooks, depending on the length of the opening. Allow about one hook for every 1.25 to 1.50 inches, with one exactly on the bust line.
Why does my blouse gap between the hooks?
Usually there is no hook on the bust line, or the overlap is too narrow. Add a hook at the bust and make sure the eye side sits under the hook side by about three quarters of an inch.
Which side do the hooks go on?
Follow the shop's habit and keep it the same on every blouse. What matters is that the hook side overlaps the eye side, so the edge lies flat and the metal stays hidden.
Should I use metal eyes or thread loops?
Metal eyes are stronger and suit silk and heavy blouses. Thread loops are softer and nearly invisible, which suits cotton, georgette and net.
Why do the hooks tear out of the cloth?
They were sewn through the outer cloth alone. Put a facing and an interfacing strip behind the opening and sew the hooks through that.
Can I use hook tape instead of separate hooks?
Yes, on padded blouses and quick work. It is faster and evenly spaced, but sits thicker, so it is less suited to fine silk.
Mark Every Hook, Not Just the First
A row of hooks looks like a small job, but it is the part of the blouse the customer fights with every time she wears it. Put a hook on the bust line, give the opening a proper overlap and backing, mark every position before you sew, and the blouse will close flat from the neck to the hem.
Book a free demo – on-site or online, in your language, with no commitment. Bring a blouse that keeps gaping at the front and we will draft the opening on screen.