Hang a newly stitched kurti on a hanger and look at the neckline. On a good one the edge is crisp and the facing is invisible. On a rushed one the facing has already rolled out at the shoulder, a ridge shows through the front where its edge sits, and the V-neck point is puckered.

A mustard cotton kurti on a tailoring table with a neat facing stitched round the neckline, a cut facing piece, a strip of interfacing and shears beside it
A facing is a shaped piece of cloth, cut to the same curve as the edge it finishes, sewn on and turned to the inside. It is the cleanest way to finish a neckline, an armhole or a waist, and it is used on more garments than any other edge finish: blouses, kurtis, frocks, salwars and jackets.
Every one of its faults comes from three small steps that are easy to skip: trimming, clipping and understitching.
In this guide you will find:
- Why a facing rolls out or shows on the outside
- How wide to cut the facing for each edge
- When to use a facing, a binding or a lining
- How to cut a facing from the garment pattern
- How to sew and understitch it so it stays inside
- How facings change from garment to garment
Why a Facing Rolls Out or Shows
Four reasons, and none of them needs more than a few extra minutes to avoid.
It Was Not Understitched
Understitching is a line of stitching on the facing, close to the seam, that holds the seam allowance to the facing. Without it the seam sits exactly on the edge and the facing rolls out with the first wear. It is the single most skipped step in finishing a neckline.
The Seam Allowance Was Not Trimmed and Clipped
A full seam allowance on a curve is too bulky to turn. It pushes the edge outwards and the neckline will not lie flat. Trim it and clip the curve so it can spread or close as it turns.
The Facing Was Too Narrow
A facing narrower than about an inch and a half flips out every time the customer moves. A wider facing has enough weight to stay inside, especially at the back neck and the V point.
The Facing Edge Made a Ridge
A thick overlocked edge, or a facing turned under twice, prints a line through thin cloth. Finish the outer edge lightly: a narrow overlock in matching thread, a pinked edge, or a light binding.
Facing Width for Each Edge
Width is measured from the finished edge to the outer edge of the facing. These are working figures; all measurements are in inches.
Edge | Facing width | Interfacing | Watch for |
|---|
Blouse round or boat neck | 1.50 | Light fusible | Clip the curve every 0.50 |
Kurti round neck | 2.00 to 2.50 | Light fusible | Wider at the back neck |
V-neck | 2.50 at the point | Light fusible | Stay-stitch and reinforce the point |
Sleeveless armhole | 1.50 | Light fusible | Or use a combined facing |
Combined neck and armhole | To 3.00 below the armhole | Light fusible | Sleeveless blouses and kurtis |
Skirt or palazzo waist | 2.00 to 2.50 | Firm fusible | Must not stretch over the hip |
The interfacing stops the curve stretching while you sew; which one to choose is covered in our interfacing guide for tailors. The seam allowance on the neckline itself is in our seam allowance guide for tailors.
Facing, Binding or Lining?
A facing is not the only way to finish an edge. Choose by the cloth and the look the customer wants:
Finish | Best for | Shows on the outside | Bulk |
|---|
Facing | Most necklines, armholes and waists | Nothing | Medium |
Bias binding | Sheer cloth, kids' wear, quick finishes | A narrow band | Low |
Piping and facing | Blouses with a contrast edge | A thin line | Medium |
Full lining | Silk, net and heavy blouses | Nothing | Low at the edge |
Turned and stitched edge | Straight hems only | A stitch line | Low |
How to cut and sew a binding instead is in our guide to bias binding.
How to Cut a Facing
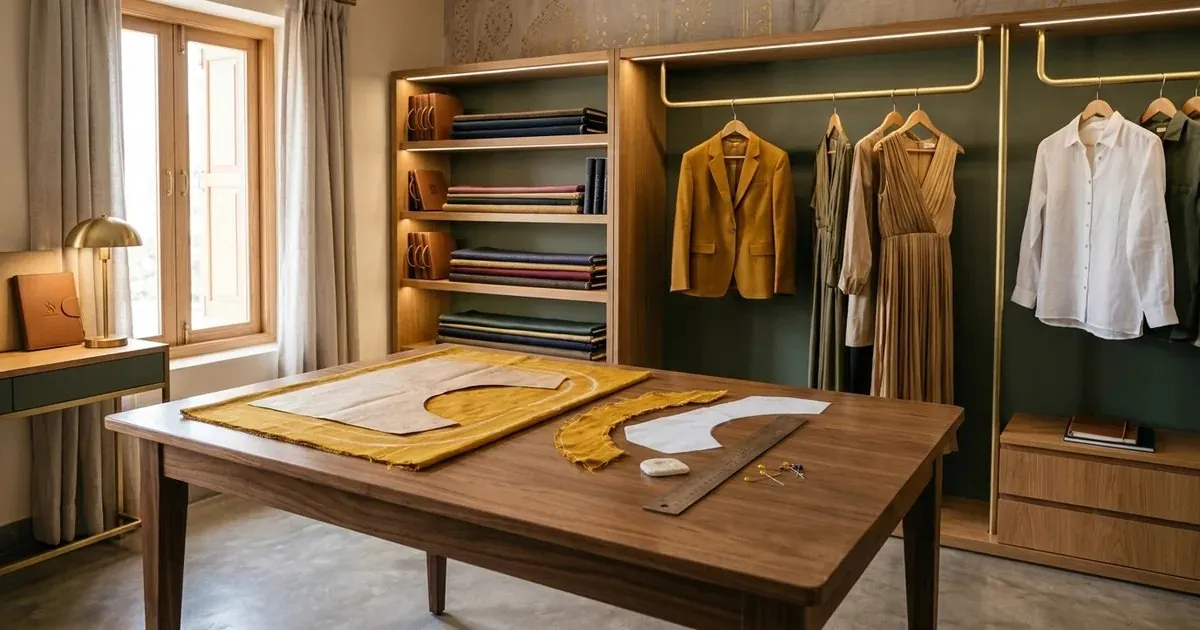
A paper neckline pattern on cotton cloth with the facing curve traced in chalk, a cut facing piece and a strip of interfacing beside it
- Lay the garment pattern on paper and trace the neckline, the shoulder line and the centre front and centre back.
- Measure the facing width from the neckline at many points and join them in a smooth curve parallel to the neck.
- Mark the shoulder points and the centre front as notches, so the facing lines up exactly with the garment.
- Cut the facing on the same grain as the garment piece it faces, never across it, or it will pull the neckline out of shape.
- Cut the interfacing from the same pattern and fuse it to the facing before you sew anything.
- Join the front and back facings at the shoulders and press the seams open, then finish the outer edge lightly.
The neck width and depth the facing follows are in our kurti cutting measurement chart.
Sewing and Understitching the Facing
- Stay-stitch the garment neckline about an eighth of an inch inside the seam line before anything else, so the curve cannot stretch.
- Pin the facing to the garment, right sides together, matching the notches at the shoulders and the centre front.
- Stitch on the seam line. At a V point, shorten the stitch for an inch either side and take one stitch across the point.
- Trim the seam allowance to about a quarter inch, grade it so the facing side is narrower, and clip the curve every half inch, almost to the stitching.
- Press the seam allowance towards the facing and understitch: stitch on the facing, about an eighth of an inch from the seam, through the facing and the seam allowance only.
- Turn the facing in, roll the seam a hair to the inside, press, and tack the facing to the shoulder seams by hand so it never flips out.
Facings in Different Garments
- Blouse – a narrow facing, often under piping; tack it to the lining at the shoulders.
- Kurti – a wider facing at the back neck, and a reinforced point on a V-neck or a slit neck.
- Sleeveless blouse or kurti – a combined neck and armhole facing gives a clean finish with no separate armhole pieces.
- Kids' frock – use a light facing and interfacing, or a binding, so the neckline stays soft.
- Salwar, palazzo and skirt waist – a firm interfaced waist facing in place of a waistband.
- Jacket and coat – a front facing cut in one with the lapel, understitched along the fold.
Facings in Tailoring CAD
In tailoring CAD the facing is drawn from the garment pattern itself. The neckline curve, the notches and the grain line are copied, the facing width is set, and the facing prints with the other pieces. Because it is traced from the same curve, it always fits the neckline it finishes.
Our tailoring CAD software page shows how every piece, facings included, is drafted from one set of measurements.
Questions Tailors Ask
Why does my neck facing keep rolling out?
It was not understitched, or the seam allowance was left too bulky. Trim, clip, understitch, and tack the facing to the shoulder seams by hand.
How wide should a neck facing be?
About an inch and a half for a blouse and two to two and a half inches for a kurti. A V-neck needs about two and a half inches at the point.
Should a facing have interfacing?
Yes, a light fusible interfacing on almost every neckline. It stops the curve stretching and keeps the edge crisp. Waist facings need a firmer one.
What is understitching?
A line of stitching through the facing and the seam allowance only, close to the seam. It is invisible from the outside and holds the facing in.
Is a facing better than bias binding for a neckline?
A facing shows nothing on the outside and suits most garments. Bias binding is better for sheer cloth and kids' wear, where a facing would show through or add bulk.
How do I stop the V-neck point puckering?
Stay-stitch the point, shorten the stitch near it, take one stitch across the point, and clip right into it before turning.
Trim, Clip, Understitch
A neckline is the first thing anyone looks at, and the facing decides whether it lies flat. Cut it wide enough, on the right grain, with interfacing, then trim, clip and understitch every time, and the facing will stay where it belongs.
Book a free demo – on-site or online, in your language, with no commitment. Bring a kurti whose facing keeps rolling out and we will draft the neckline and the facing on screen.