A thin line of contrast piping round the neck and the sleeves is what makes a plain blouse look finished. Done well, it is an even, round line that follows every curve. Done in a hurry, it ripples at the neck, flattens out at the back, and leaves a lump at the shoulder where the two ends meet.

A green silk blouse with contrast gold piping along the neckline and sleeve hems on a tailoring table, with a coil of piping cord and shears beside it
Piping is a folded strip of cloth, often with a cord inside, sewn into a seam or an edge so that a narrow line shows on the outside. It costs very little cloth and very little time, which is why customers ask for it so often, and why a badly piped neckline is noticed at once.
Like bias binding, almost every fault in piping comes from how the strip was cut.
In this guide you will find:
- Why piping ripples, flattens or shows a lump
- What strip width to cut for each piping cord
- How much piping to cut for each edge
- How to make the piping from a bias strip
- How to sew it into a neckline, a sleeve and a seam
- How the fabric changes the piping you can use
Why Piping Goes Wrong
Four reasons, and all four can be avoided before the machine is switched on.
The Strip Was Cut on the Straight Grain
A straight-grain strip will not bend round a neckline. It ripples on the curve and pulls the edge tight. Piping for any curved edge must be cut on the true bias, at 45 degrees to the grain.
The Cord Was Not Pre-Shrunk
Cotton piping cord shrinks in the first wash, often more than the blouse. The cord pulls up inside the strip and the whole neckline puckers. Soak the cord and let it dry before you use it.
The Stitching Was Not Close to the Cord
If the line of stitching sits away from the cord, the piping looks flat and wide, and the earlier stitching shows on the outside. Every pass must be sewn close against the cord with a zipper foot or a piping foot.
The Ends Were Overlapped Instead of Joined
Two ends of piping laid on top of each other make a hard lump, usually right at the shoulder. The cord should be cut so the ends meet, and the strip folded over the join.
Strip Width for Each Piping Cord
The strip must wrap round the cord and still leave a seam allowance on the open edge. Cut width is the distance round the cord plus twice the seam allowance. These working figures use a 0.375 seam allowance; all measurements are in inches.
Piping | Cord | Cut strip width | What shows | Where it is used |
|---|
Flat piping | None | 1.00 | About 0.125 | Blouse neck, sleeve hem |
Fine corded | 2 mm | 1.00 | A thin round line | Silk blouse neck and armhole |
Medium corded | 3 mm | 1.125 | A clear round line | Cotton blouses, kurti yokes |
Thick corded | 5 mm | 1.375 | A bold raised line | Princess seams, waist bands |
Double piping | None | 1.00 and 1.25 | Two lines of 0.125 | Contrast necklines |
If your shop leaves 0.50 on the neckline instead of 0.375, add 0.25 to every strip width. How much allowance to leave on each seam is covered in our seam allowance guide for tailors.
How Much Piping to Cut
Measure each edge on the pattern, not on the cut cloth, because a cut curve stretches. Then add enough for the join:
Edge | Piping length | Where to join |
|---|
Neckline | Neck edge + 1.50 | At a shoulder seam or the centre back |
Sleeve hem | Sleeve width + 1.00 | At the underarm seam |
Armhole | Armhole round + 1.50 | At the underarm |
Blouse band or hem | Band length + 1.00 | Ends turned into the front opening |
Princess or yoke seam | Seam length + 0.50 | Ends caught in the cross seams |
A quarter of a metre of cloth, cut on the bias and joined, gives more than enough piping for one blouse with a piped neck and sleeves. The neck, armhole and sleeve figures come from our blouse cutting measurement chart.
How to Make the Piping
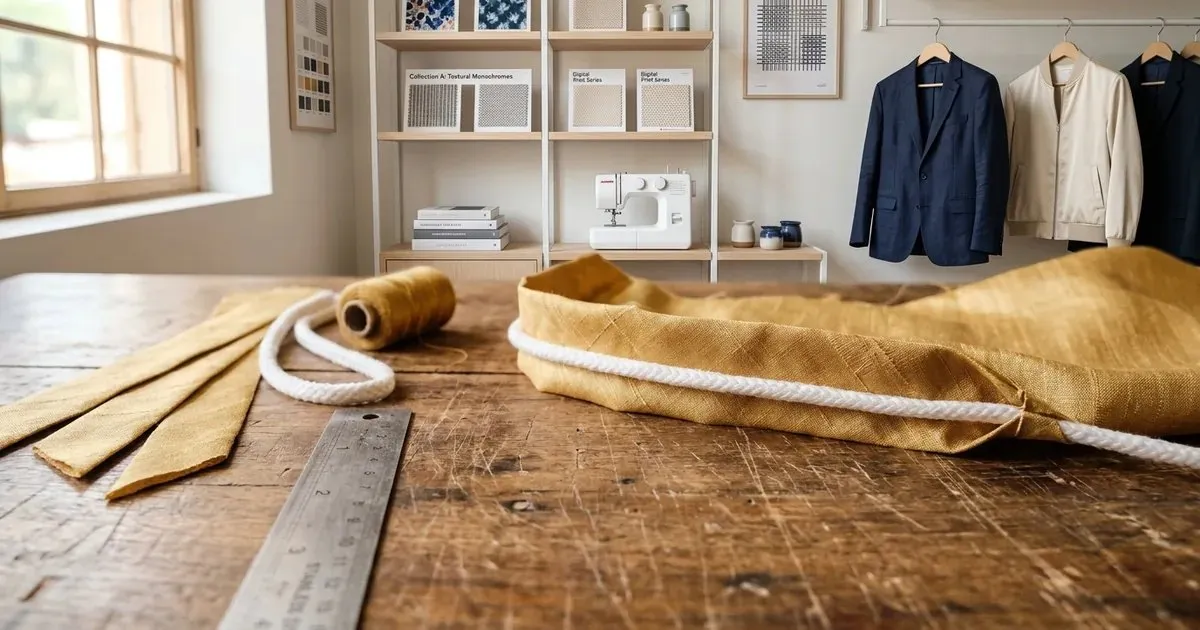
A gold bias strip folded around a white piping cord on a cutting table, with cut bias strips, a spool of thread and a steel ruler beside it
- Cut the strips on the true bias, to the width in the table. How to find the bias and join the strips flat is in our guide to bias binding.
- Join the strips with diagonal seams, trim to a quarter inch and press the seams open, so no join makes a bump in the line.
- Soak the cotton cord in water, let it dry, and cut it to the length you need plus an inch.
- Lay the cord in the middle of the strip on the wrong side and fold the strip over it, with the raw edges together.
- Stitch along the strip close to the cord with a zipper foot, without pulling the bias.
- Trim the seam allowance to an even 0.375 so it lines up with the edge of the garment.
Sewing Piping Into the Edge
- Stay-stitch the neckline first so the curve cannot stretch while you work on it.
- Pin or baste the piping to the right side of the garment, raw edges together, with the cord lying towards the garment.
- On a curve, clip the piping seam allowance every half inch, almost to the stitching, so it turns smoothly.
- Join the ends by opening the strip, cutting the cord so the two ends meet exactly, and folding one end of the strip over the other.
- Lay the facing or the lining on top and stitch from the side where the first stitching shows, just inside it and close against the cord. The earlier stitching is then hidden.
- Turn the facing in, press from the wrong side with a pressing cloth, and do not press the piping flat.
How the Fabric Changes the Piping
- Cotton – the easiest piping to make. It holds the cord firmly and presses well.
- Silk and art silk – use a fine cord and a narrow strip, and pin closely, because silk slides.
- Satin – gives a bright contrast line, but frays fast; cut a little wider and handle it gently.
- Velvet – makes a rich piping on silk blouses; stitch with the pile running down and press only from the wrong side.
- Georgette and net – too soft and sheer for corded piping; use flat piping in a firmer matching cloth.
- Zari and brocade borders – cut the strip from a plain part of the border, because zari is stiff and scratches on the inside.
Choosing a piping cloth that suits the blouse cloth is covered in our guide to which fabric for which garment.
Piping in Tailoring CAD
In tailoring CAD the piping strip is worked out from the length of the edge it goes into. The neck, armhole and sleeve edges are already known from the drafted pattern, so the strip length and width can be printed with the other pieces, and the cutter does not need to measure the curve again.
Our tailoring CAD software page shows how every blouse piece is drafted from one set of measurements.
Questions Tailors Ask
What is the difference between piping and bias binding?
Bias binding wraps over the raw edge and finishes it. Piping is sewn into a seam or under a facing, so only a narrow line shows on the outside.
How wide should I cut a piping strip?
The distance round the cord plus twice the seam allowance. For a fine 2 mm cord and a 0.375 seam allowance, cut the strip about one inch wide.
Do I need a cord inside the piping?
No. Flat piping, a folded strip with no cord, is common on blouse necklines and sleeves. A cord gives a rounder, raised line.
Why does my piping ripple on the neckline?
Usually it was cut on the straight grain, or the neckline was not stay-stitched first. Cut on the true bias, stay-stitch, and clip the allowance on the curve.
How do I join piping without a lump?
Open the strip at the join, cut the cord so the two ends meet, then fold one end of the strip over the other and stitch through. Join at a seam, not in the middle of the front.
Which foot should I use to sew piping?
A zipper foot or a piping foot, so the needle can run close against the cord. A normal foot rides on the cord and leaves the stitching too far away.
Pipe It Once, Pipe It Even
Piping is a small detail that a customer notices before anything else. Cut it on the bias, shrink the cord, stitch close against it, and join the ends flat, and the line will run round the neck as cleanly as it does on the table.
Book a free demo – on-site or online, in your language, with no commitment. Bring a blouse whose piping never lay flat and we will draft the neckline and the strip on screen.