More and more customers ask for a padded blouse. It gives a smooth shape under silk, removes the need for a separate bra and sits well under a heavy saree. But a padded blouse that is done badly is worse than no padding at all: the cups sit too high or too far apart, their edges show through the cloth, and the blouse that fitted at the trial pinches once the cups are in.
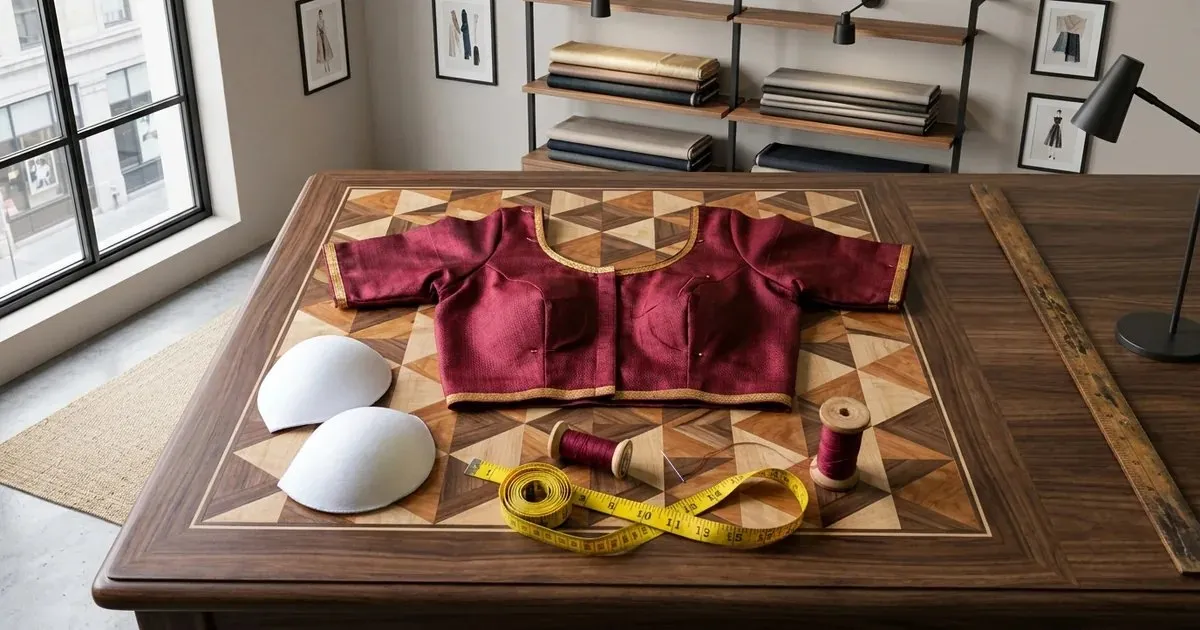
A wine-red silk padded blouse laid flat on a tailoring table with a pair of white foam blouse cups, a measuring tape and a spool of thread beside it
Padding is not decoration added at the end. The cup takes up room inside the blouse, has to sit exactly on the bust, and has to be fixed to the lining so it never moves. All three are decided by measurements, not by eye.
Get the size and the placement right, and the rest is simple hand sewing.
In this guide you will find:
- Why padded blouses fit badly
- How to choose the right cup size
- Which type of cup to use
- How much extra room to cut for the cups
- How to place and fix the cups in the lining
- How the fabric changes the padding
Why a Padded Blouse Fits Badly
Four reasons, and all of them come before the first stitch.
The Cup Size Was Guessed
A cup that is too small leaves a gap at the top and digs in at the edge. One that is too large wrinkles and makes the blouse look hollow. The size comes from two measurements, the bust and the under-bust, and both must be taken.
The Cups Were Not on the Bust Points
Cups placed by eye usually end up too high or too close together. The centre of each cup must sit on the bust point, which comes from the shoulder-to-bust-point and the bust-point-to-bust-point measurements.
No Room Was Cut for the Cup
A foam cup has thickness. A blouse cut to the bare bust measurement will be tight once the cups are inside. Allow a little extra across the bust when you cut a padded blouse.
The Cup Edge Shows Through
On thin silk or georgette a hard cup edge prints a line on the outside. Use a cup with a soft, thin edge, and always put the lining between the cup and the outer cloth.
Choosing the Right Cup Size
Measure the bust round the fullest part and the under-bust just below it. The difference between them gives the cup; the under-bust, rounded to the nearest even number, gives the band. These are working figures, in inches; always try the cups on before fixing them.
Bust minus under-bust | Cup | What it usually means |
|---|
About 1.00 | A | Small bust; choose a thin, light cup |
About 2.00 | B | The most common blouse cup size |
About 3.00 | C | Fuller bust; choose a cup with a deeper shape |
About 4.00 | D | Full bust; a moulded cup with good coverage |
5.00 or more | DD and above | Choose a firmer cup and add a support band |
For example, a bust of 36 and an under-bust of 32 is a difference of 4, so a 32 D cup. How to take both measurements accurately is in our guide to taking body measurements for tailoring.
Which Type of Cup to Use
Cup type | Best for | How it is fixed | Washing |
|---|
Moulded foam cup | Silk and bridal blouses | Hand-tacked to the lining | Hand wash |
Soft padded cup | Cotton and daily wear | Hand-tacked to the lining | Gentle wash |
Removable pad | Customers who want to wash often | Slips into a lining pocket | Remove first |
Cup with katori cut | Katori blouses | Sewn into the cup seams | Hand wash |
Push-up cup | Deep necks, party wear | Hand-tacked, angled inwards | Hand wash |
Choose a cup with a thin, feathered edge for silk and sheer cloth, and a white or skin-coloured cup so it does not show through a light blouse.
Cutting a Blouse for Cups
- Take the full blouse measurements as usual, plus shoulder to bust point and bust point to bust point. The regular figures are in our blouse cutting measurement chart.
- Add about 0.50 to 0.75 to the bust for a foam cup, so the blouse is not tight once the cups are in. A thin soft cup needs less.
- Keep the front length over the bust a little longer, about 0.25, because the cup lifts the cloth.
- Cut the lining from the same pattern. The cups are fixed to the lining, so it must fit exactly.
- Mark the bust points on the lining with chalk before it leaves the table.
Placing and Fixing the Cups

Two white foam blouse cups laid on cream cotton lining on a cutting table, with a steel ruler, pins, shears and a measuring tape beside them
- Sew the lining together at the shoulders and sides and try it on the customer, or on the trial blouse, to confirm the bust points.
- Place each cup on the wrong side of the lining with its centre on the chalk bust point, tilted very slightly outwards, as a bra cup sits.
- Check the gap between the cups at the centre front against the bust-point-to-bust-point measurement. Both cups must sit at the same height.
- Pin, then tack each cup by hand all round its edge with small running stitches through the lining only. No stitch should reach the outer cloth.
- Try the lining on once more with the cups in. Move a cup now if it is off; it cannot be moved after the blouse is joined.
- Join the outer blouse and the lining as usual, with the cups sitting between them.
Where heavy embroidery needs support as well as the cups, the interfacing goes on the outer cloth, not on the cup; see our interfacing guide for tailors.
How the Fabric Changes the Padding
- Cotton – a soft padded cup is enough, and the cloth hides the edge well.
- Silk and pattu – a moulded cup with a thin edge; tack it carefully so no stitch shows.
- Georgette and net – always line the blouse and choose a skin-coloured cup with a feathered edge.
- Heavy embroidery and maggam – a firm moulded cup carries the weight and stops the front sagging.
- Velvet – a thinner cup, because velvet already adds bulk at the bust.
- Stretch cloth – a soft cup, and less extra room, because the cloth stretches over the cup.
Which blouse cloth suits which occasion is covered in our guide to which fabric for which garment.
Padded Blouses in Tailoring CAD
In tailoring CAD the bust points are placed from the measurements, so they can be printed on the lining pattern as well as the outer blouse. The extra room for the cups is added once to the bust and the front length, and the cutter can see exactly where each cup will sit before the cloth is cut.
Our tailoring CAD software page shows how every blouse piece, lining included, is drafted from one set of measurements.
Questions Tailors Ask
How do I know which cup size to use in a blouse?
Subtract the under-bust from the bust. About one inch is an A cup, two a B, three a C and four a D. The under-bust, rounded to an even number, is the band size.
How much extra should I add to the bust for padding?
About half to three quarters of an inch for a foam cup. A thin soft cup needs only a little.
Where should the cups be fixed?
To the lining, by hand, with the centre of each cup on the bust point. Never stitch them to the outer cloth.
Why do the cups show through my blouse?
The cup edge is too thick, the cloth is too thin, or there is no lining between them. Use a feathered-edge cup and always line a padded blouse.
Can I add padding to a blouse that is already stitched?
Only if there is room across the bust. Open the lining at the side, tack the cups in, and close it again. If the blouse is already close-fitting, it will be too tight.
Should a padded blouse be washed by hand?
Yes, in cold water, or with removable pads taken out first. Machine washing bends moulded cups out of shape.
Measure, Place, Then Tack
A padded blouse only looks natural when the cup is the right size and sits exactly on the bust. Measure the bust and the under-bust, cut a little extra room, mark the bust points on the lining, and tack the cups by hand after a trial, and the padding will disappear into the shape of the blouse.
Book a free demo – on-site or online, in your language, with no commitment. Bring a padded blouse that never sat right and we will draft the bust points on screen.