Customers ask for a princess cut blouse because it fits like no other. There are no darts poking at the bust, just two long curved seams that shape the front from the shoulder or the armhole down to the waist. When it is cut right, it hugs the body. When it is cut a little wrong, the seam runs beside the bust instead of over it, and the whole front puckers.
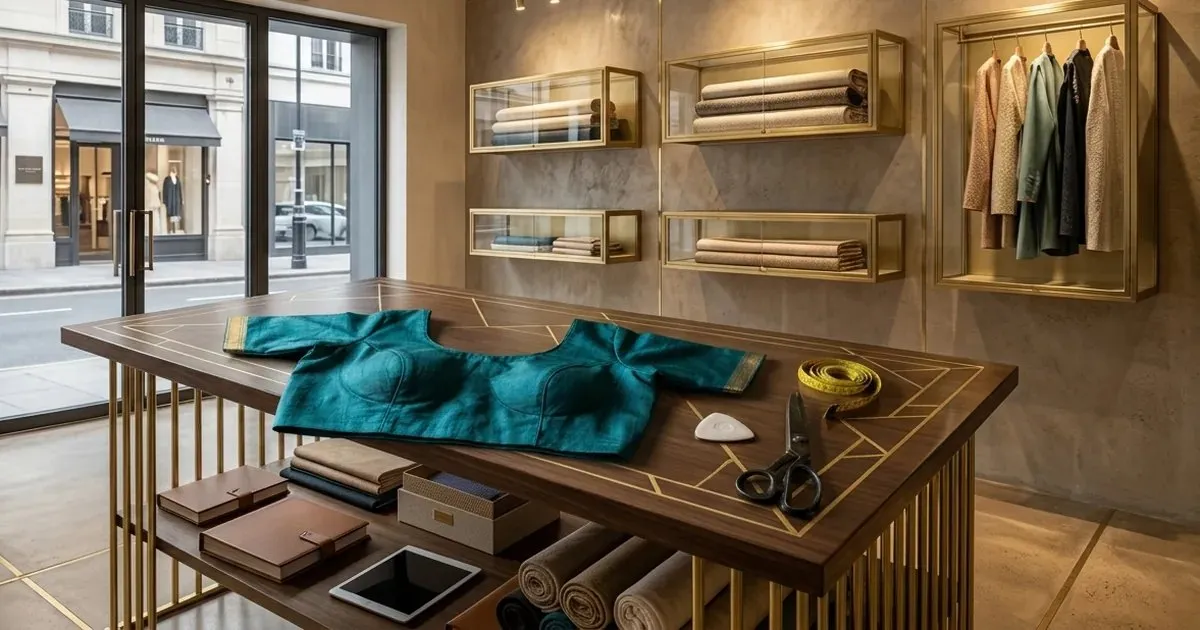
A teal silk blouse with shaped seams over the bust laid on a tailoring table, with a measuring tape, chalk and shears beside it
A princess cut takes the bust dart and the waist dart and turns them into one seam. The front is split into a centre panel and a side panel on each side, and the shaping is cut into the curves of those panels. That is why it fits so closely, and also why it needs two measurements a plain darted blouse can do without.
Most princess blouse faults come from those two numbers and from the notches.
In this guide you will find:
- Why a princess blouse puckers or sits off the bust
- The measurements a princess cut needs
- Armhole, shoulder and back princess styles
- How to mark and cut the princess panels
- How to sew the curved seams so they lie smooth
- How the fabric changes the princess cut
Why a Princess Blouse Goes Wrong
Four reasons, and each one can be caught before the cloth is cut.
The Seam Missed the Bust Point
The princess seam must pass over the bust point. If the shoulder-to-bust-point or the bust-point-to-bust-point measurement is guessed, the seam lands half an inch to one side and the fullness sits in the wrong place. Measure both on the customer, every time.
The Notches Were Not Marked
The centre panel and the side panel have curves of different shapes that must be sewn together. Without notches above and below the bust, the two edges slide past each other and the seam twists. Mark at least two notches on every princess seam.
The Side Panel Was Cut Off Grain
Because the side panel is curved, it is tempting to lay it wherever it fits on the cloth. Its grain line must run parallel to the centre front, or the side of the blouse drags towards the back.
The Curve Was Not Clipped or Pressed
A curved seam that is not clipped pulls tight, and one that is pressed flat on the table loses its shape. Clip the inward curve and press the seam over a rounded surface.
Measurements a Princess Cut Needs
Take the usual blouse measurements, then these. All measurements are in inches; the ease and the method are the same as for a regular blouse.
# | Measurement | Where it is taken | Why it matters |
|---|
1 | Shoulder to bust point | From the shoulder at the neck to the bust point | Sets how high the seam crosses the bust |
2 | Bust point to bust point | Straight across, between the two bust points | Sets how far apart the two seams run |
3 | Under-bust | Round the body just below the bust | Shapes the seam under the bust |
4 | Front length | Shoulder to waist over the bust point | Gives the full length of the seam |
5 | Bust | Round the fullest part | Total width, shared between the panels |
6 | Waist | Round the blouse waist line | Sets how much the seams take in at the hem |
How to take each of these on the customer is in our guide to taking body measurements for tailoring, and the regular blouse figures are in our blouse cutting measurement chart.
Princess Styles and Where the Seam Starts
Style | Seam starts at | Best for | Watch for |
|---|
Armhole princess | About a third down the armhole | Most saree blouses | Keep the armhole curve smooth |
Shoulder princess | The middle of the shoulder | Tall figures, high necks | Long seam; more notches |
Front-open princess | Armhole or shoulder | Hook-front blouses | Hooks must clear the seam |
Back princess | Back armhole | Close-fit back, deep necks | Match front and back seams at the side |
Princess with cups | Armhole | Padded and bridal blouses | Cup sits inside the side panel curve |
The armhole princess is the easiest to fit and the one most customers mean when they ask for a princess cut.
How to Mark and Cut the Princess Panels

Paper princess blouse pattern pieces on teal cloth on a cutting table, the curved seam lines traced in chalk with notches marked, beside a steel ruler and pins
- Draft the front block with its bust and waist darts as usual, and mark the bust point from measurements 1 and 2.
- Draw the seam line from the armhole (or the shoulder) in a smooth curve down to the bust point, then straight down through the waist dart to the hem.
- Mark two notches on the seam, one about two inches above the bust point and one about two inches below it.
- Cut along the seam line to separate the centre panel from the side panel, closing the darts into the curve.
- Draw a grain line on each panel parallel to the centre front, and lay both panels on the cloth along it.
- Add the seam allowance all round, about 0.50 on the princess seams, and transfer every notch to the cloth.
How much allowance to leave on curved seams is covered in our seam allowance guide for tailors.
Sewing the Princess Seams
- Stay-stitch the curved edge of each panel inside the seam allowance so the bias part of the curve cannot stretch.
- Clip the inward curve almost to the stay-stitching, every half inch, so it can open out to match the outward curve.
- Pin the panels at the notches first, then at the top and the hem, and ease the cloth between them.
- Stitch with the clipped panel on top, so you can see the cloth and keep it from folding.
- Press the seam over a rolled towel or a tailor's ham, never flat on the table, so the curve keeps its shape.
- Try the blouse on the customer before attaching the sleeves. A princess seam can be taken in or let out at the side panel more easily than any dart.
How to press curved seams without shine is covered in our guide to pressing, finishing and the delivery check.
How the Fabric Changes the Princess Cut
- Cotton – the easiest cloth for a first princess blouse; it holds the curve and presses well.
- Silk and pattu – cut carefully round the border so the zari meets at the princess seam, and press lightly.
- Brocade – the pattern breaks at every seam, so match motifs across the panels or choose a plain side panel.
- Georgette and net – too soft to hold the curve alone; line the panels and treat each pair as one.
- Stretch cloth – needs less shaping; reduce the curve or the blouse will be too tight.
- Velvet – press only from the wrong side on a soft towel so the pile is not crushed at the seam.
Princess Cut Blouses in Tailoring CAD
In tailoring CAD the princess seam is drafted from the measurements, not drawn by eye. The bust point is placed from the shoulder-to-bust-point and bust-point-to-bust-point figures, the darts are closed into the curve, and both panels print with their notches and grain lines. The two curves always match because they come from the same line.
Our tailoring CAD software page shows how princess and other blouse patterns are drafted from one set of measurements.
Questions Tailors Ask
What is a princess cut blouse?
A blouse shaped by two long curved seams down the front instead of darts. The seams run from the armhole or the shoulder, over the bust point, to the waist.
How many pieces does a princess cut blouse have?
Usually four front pieces, a centre and a side panel on each side, plus the back and the sleeves. A back princess adds two more panels at the back.
What is the difference between princess cut and katori cut?
A katori blouse shapes the bust with separate cup pieces below a band. A princess blouse shapes it with continuous seams from the armhole to the waist, so there is no band across the front.
Which measurements are extra for a princess cut?
Shoulder to bust point and bust point to bust point. Without them the seam cannot be placed over the bust.
Why does my princess blouse pucker at the bust?
Usually the seam is off the bust point, the notches were not matched, or the inward curve was not clipped. Check the two bust measurements and sew from notch to notch.
Can a princess cut blouse be made without padding?
Yes. Most princess blouses are unpadded; the seams do the shaping. Cups can be added inside the side panels for a bridal or padded blouse.
Measure the Bust Point, Mark the Notches
A princess cut is only as good as the line it is cut on. Measure the two bust point figures, place the seam over the bust, mark the notches, keep the grain straight, and press the curve over a rounded surface, and the blouse will fit the way the customer imagined.
Book a free demo – on-site or online, in your language, with no commitment. Bring a princess blouse that puckered at the bust and we will draft the seams on screen.