A customer tries on a new shirt and the top button will not go through. Another button slips out of its hole every time she sits down. A third buttonhole has frayed into a ragged slit after two washes. None of these are cutting mistakes; all of them come from a buttonhole sized, placed or stitched by guesswork.
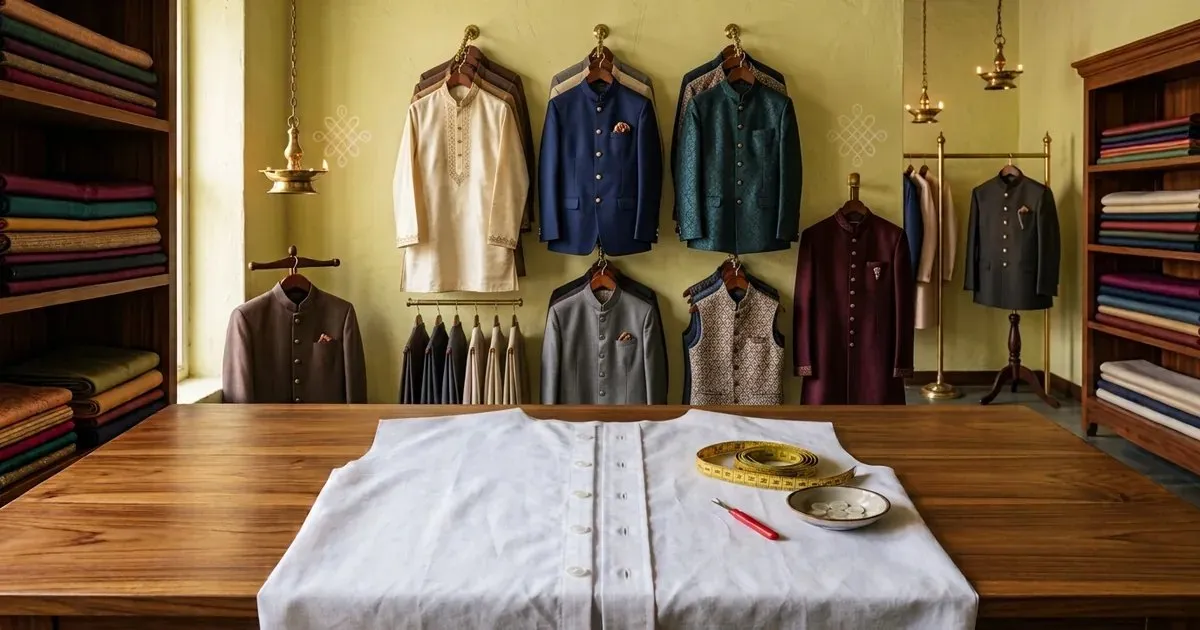
A white cotton shirt front laid on a tailoring table with a neat row of stitched buttonholes, loose buttons, a seam ripper and a measuring tape beside it
A buttonhole has three jobs: let the button through easily, hold it closed under strain, and survive years of washing. Its length comes from the button, its direction from the strain on the garment, and its strength from the layers behind it.
Each of those can be measured, so none of them needs to be guessed.
In this guide you will find:
- Why buttonholes gape, fray or will not close
- How long to make a buttonhole for each button
- Which way each buttonhole should run
- How to mark buttonholes on the garment
- How to stitch and cut them cleanly
- How the fabric changes the buttonhole
Why Buttonholes Go Wrong
Four reasons, and every one is decided before the machine stitches the first hole.
The Button Was Not Measured
A buttonhole sized by eye is usually too short for a thick button or too long for a thin one. A long buttonhole lets the button slip out; a short one makes the customer struggle every morning. Measure the button before marking a single hole.
The Buttonhole Ran the Wrong Way
A buttonhole holds best when it runs in the direction of the pull. Where the strain is across the body, as on a waistband or a coat front, a vertical buttonhole lets the button slide out.
There Was No Interfacing
Stitched through a single layer of soft cloth, a buttonhole stretches open and frays. The placket, the band or the cuff needs interfacing behind it before any buttonhole is made.
It Was Cut Carelessly
One slip of the seam ripper cuts through the bar tack at the end, and the buttonhole keeps opening. Always cut from each end towards the middle, with a pin across the end as a stop.
How Long to Make the Buttonhole
For a flat button, the buttonhole is the button's width plus about an eighth of an inch. For a thick or domed button, add its thickness too. These are working figures in inches; always test on a scrap of the same layers.
Button width | Flat button | Thick or shank button | Where it is used |
|---|
10 mm (about 0.375) | 0.50 | 0.625 | Shirt fronts, kids' wear |
12 mm (about 0.50) | 0.625 | 0.75 | Shirts, kurtas |
15 mm (about 0.625) | 0.75 | 0.875 | Kurtas, ladies' tops, cuffs |
20 mm (about 0.75) | 0.875 | 1.00 | Trouser waistbands, jackets |
25 mm (about 1.00) | 1.125 | 1.25 to 1.375 | Coats and blazers |
Which interfacing to put behind the buttonholes is covered in our interfacing guide for tailors.
Which Way the Buttonhole Runs
Run the buttonhole in the direction the button is pulled. A horizontal buttonhole starts about an eighth of an inch past the centre line, towards the edge, so the button sits exactly on the centre line when it is closed.
Garment and place | Direction | Where it starts | Usual spacing |
|---|
Shirt front placket | Vertical | Centred on the centre front line | 3.00 to 3.50 |
Shirt collar band | Horizontal | 0.125 past the centre front | One only |
Shirt cuff | Horizontal | Centred on the overlap, 0.50 from the edge | One or two |
Kurta placket | Vertical | Centred on the placket | 2.50 to 3.00 |
Trouser waistband | Horizontal | 0.125 past the centre front | One only |
Coat or blazer front | Horizontal | 0.125 past the centre front | As the style needs |
The front and cuff measurements these are placed on come from our gents shirt cutting measurement chart and, for coats, our coat cutting measurement chart.
How to Mark Buttonholes
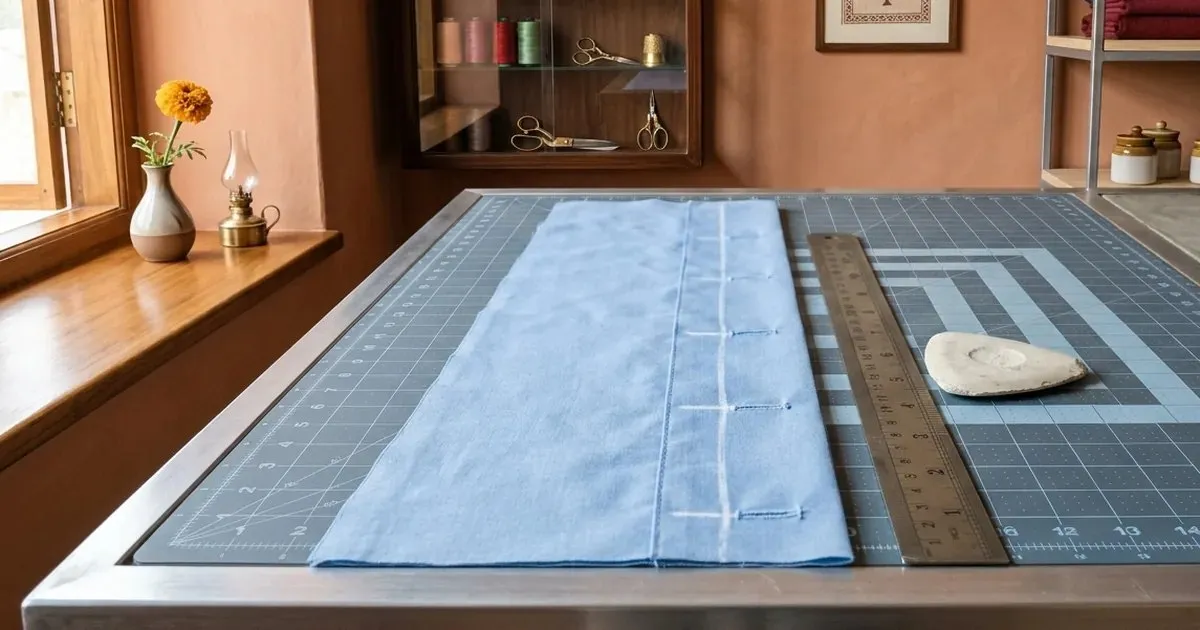
A light blue shirt placket on a cutting mat with buttonhole positions marked in chalk along the centre line, beside a steel ruler and tailor's chalk
- Finish the placket, band or cuff first, with its interfacing, so you mark on the final layers.
- Mark the centre front line along the full length with chalk or a basting thread.
- Mark the top and bottom buttonholes first, then divide the space between them evenly.
- Mark the length of each buttonhole as two short lines across the centre line, using the table above.
- Make one test buttonhole on a scrap of the same cloth and interfacing, and pass the actual button through it before marking the rest.
- Lay the buttons on the marks to check the spacing by eye before stitching anything.
Check which side the buttonholes go on before you mark them. On gents' shirts, kurtas and coats the buttonholes are on the left front and the buttons on the right, so the left side laps over the right. On ladies' garments it is the other way round, with the buttonholes on the right front. Mixing the two up is a mistake that cannot be fixed without recutting the placket, so mark the buttonhole side on the piece as soon as it is cut. The same rule applies to the cuffs: the buttonhole goes on the end that laps over.
Stitching and Cutting Buttonholes
- Use the buttonhole foot and set the length to the mark; let the machine stitch both sides and the bar tacks.
- Stitch every buttonhole in the same direction, from the same end, so they all look alike.
- Put a pin across each end, just inside the bar tack, before cutting.
- Cut with a sharp seam ripper from each end towards the middle, never straight through from end to end.
- Trim any loose threads in the slit, and on fraying cloth touch the cut edge with a little fray stop.
- Mark each button through the closed buttonhole, then sew it on with a small thread shank as high as the cloth is thick.
Where a zip is the better closure, for example a side opening or a fitted waist, see our guide to zip length and placement.
How the Fabric Changes the Buttonhole
- Cotton and poplin – the easiest cloth for buttonholes; a light interfacing is enough.
- Silk – use a fine needle and thread, a light interfacing, and test on a scrap first.
- Linen – frays easily; use a closer stitch and fray stop on the cut edge.
- Denim and heavy cotton – use a longer buttonhole and a stronger needle; a keyhole buttonhole suits shank buttons.
- Wool suiting – a keyhole buttonhole gives room for the button's shank on coats and blazers.
- Knits – use a firm interfacing and stitch the buttonhole along the rib so it does not stretch.
Buttonholes in Tailoring CAD
In tailoring CAD the centre front line, the overlap and the button positions are drafted with the pattern. The buttonhole marks print on the placket, band and cuff pieces, so the tailor transfers them with the notches and every garment of the same size gets the same spacing.
Our tailoring CAD software page shows how shirt and kurta pieces are drafted from one set of measurements.
Questions Tailors Ask
How long should a buttonhole be?
The width of the button plus about an eighth of an inch. For a thick or domed button, add its thickness too.
Should shirt buttonholes be vertical or horizontal?
Vertical on the front placket, horizontal on the collar band and the cuffs. The band and cuffs take a sideways pull, so a horizontal hole holds them better.
Where does a horizontal buttonhole start?
About an eighth of an inch past the centre line, towards the edge, so the button sits on the centre line when it is closed.
Why do my buttonholes fray?
There was no interfacing, the stitch was too open, or the cut went through the bar tack. Interface the area, close up the stitch, and cut with a pin as a stop.
What is a keyhole buttonhole?
A buttonhole with a small round end, used on coats, blazers and jeans. The round end makes room for the shank of a thick button.
How do I sew a button so it does not pull the cloth?
Leave a small thread shank as high as the buttonhole layer is thick, then wind the thread round it a few times before finishing.
Measure the Button First
A buttonhole is a small thing the customer uses every single day. Measure the button, run the hole the way the garment pulls, interface the layers behind it, test on a scrap and cut from the ends to the middle, and every button will go through easily and stay closed.
Book a free demo – on-site or online, in your language, with no commitment. Bring a shirt whose buttons keep slipping and we will draft the placket and buttonholes on screen.