A sleeveless blouse looks easy, because there is no sleeve to set. Yet it is one of the garments that comes back most often. The armhole gapes at the front and shows the customer's underwear. The strap slips off the shoulder every time she lifts her arm. The edge has rolled out and stretched into a wave.

A lavender sleeveless button-front top with narrow shoulder straps laid flat on a wooden tailoring table, beside a coil of lavender binding, steel shears and a yellow measuring tape
With a sleeve, the sleeve cap hides a lot of small errors in the armhole. Without one, the armhole is the finished edge, and every error in its depth, its curve and its finish is in plain view. A sleeveless armhole is not simply a sleeved armhole with the sleeve left off; it is cut differently.
The depth, the shoulder and the finish decide whether it sits close to the body or stands away from it.
In this guide you will find:
- Why sleeveless armholes gape, slip or stretch
- How deep to cut the armhole for each garment
- How wide to leave the shoulder strap
- Which edge finish suits which cloth
- How to mark and cut the armhole curve
- How to fix an armhole that already gapes
Why Sleeveless Armholes Go Wrong
Four reasons, and all four are decided at the cutting table.
The Armhole Was Cut Too Low
An armhole copied from a sleeved pattern is cut deep, so the arm can move freely under a sleeve. With nothing covering it, a deep armhole opens at the side of the bust and shows what is under it. For a sleeveless garment the underarm is raised.
The Shoulder Was Left as Wide as for a Sleeve
A shoulder cut to the full shoulder point carries the armhole right out to the edge of the body. The strap then slides off the shoulder, and the edge stands away from the arm. The shoulder is taken in so the armhole sits on the body.
The Curve Was Stretched
The lower part of the armhole is cut on the bias, and a bias edge stretches as it is handled. An unstayed armhole is longer by the time it is finished, and it gapes at the front.
The Edge Finish Rolled Out
A facing that is too narrow, or not understitched, rolls out and shows at the armhole. A binding that is pulled while it is sewn makes the armhole too tight and wavy. The finish has to be chosen with the cloth.
Armhole Depth for Each Garment
Armhole depth is measured straight down from the line of the shoulder at the shoulder point, to the underarm line. These are working figures in inches for a 36 bust (the frock for a 24 chest); always try the cut piece before finishing.
Garment | Armhole depth | Shoulder strap | Note |
|---|
Blouse with sleeves | 6.50 to 7.00 | Not needed | The sleeve cap sets the armhole |
Sleeveless blouse | 6.00 to 6.50 | 2.00 to 2.50 | Raise the underarm about 0.50 |
Kurti with sleeves | 8.00 to 9.00 | Not needed | Deeper, because it is looser |
Sleeveless kurti | 7.50 to 8.50 | 2.50 to 3.00 | Raise the underarm about 0.50 |
Kids' frock, sleeveless | 4.50 to 5.00 | 1.50 to 2.00 | For a 24 inch chest |
Waistcoat or vest | 9.00 to 10.00 | 2.00 to 2.50 | Worn over a shirt, so cut deeper |
The bust, shoulder and chest figures the armhole is cut from are in our blouse cutting measurement chart and our kurti cutting measurement chart.
Which Armhole Finish for Which Cloth
Finish | Edge width | Best for | Watch for |
|---|
Self-fabric bias binding | Cut 1.50, finishes 0.375 | Cotton, blouses, kids' wear | Stretching on the curve |
Armhole facing | 1.50 to 2.00 | Silk, lined and heavier cloth | Understitch it, tack at the seams |
Combined neck and armhole facing | To 3.00 below the armhole | Sleeveless kurtis and blouses | Shoulder seams are closed last |
Piping and facing | Piping 0.125 showing | A contrast edge on silk | Clip the curve before turning |
Lining turned through | None showing | Fully lined silk blouses | Needs a wider seam allowance |
Cutting and joining a binding strip is covered in our guide to bias binding. The facing widths, understitching and clipping are in our guide to neck facing; the same rules apply at the armhole.
How to Mark and Cut the Armhole
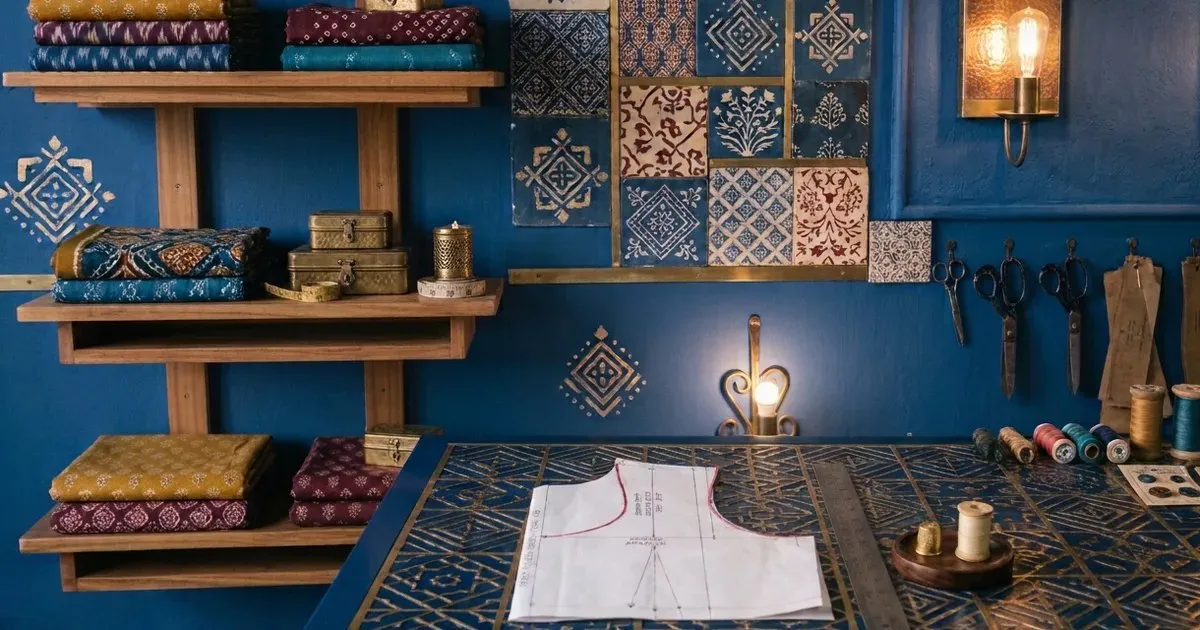
A white paper sleeveless blouse front pattern with the armhole curve marked in red pencil, laid on a patterned workshop table beside a steel ruler, thread reels and button cards
- Fold the front pattern down the centre front, and mark the shoulder point at the end of the shoulder line.
- For a sleeveless garment, take the shoulder point in by 0.50 to 0.75, so the strap sits on the shoulder and not off the edge of it.
- Set a steel ruler straight down from the line of the shoulder at the new shoulder point, and mark the armhole depth from the table. Raise the underarm by about 0.50 from the sleeved figure.
- Draw the armhole curve from the shoulder point to the underarm. Cut the front curve about 0.25 deeper than the back, and keep the back curve flatter.
- Mark a notch at the middle of the curve on the front and the back, so the facing or binding can be matched exactly.
- Cut about 0.25 inside the line, stay-stitch the curve at once, try the piece, and then take it to the final line.
Fixing an Armhole That Already Gapes
- Pinch out the gap at the front armhole with a pin. If it is 0.25 to 0.50, take it out in a small dart running from the armhole into the bust, or ease the armhole in with a row of tiny stitches.
- If the strap slips, take the shoulder in at the shoulder seam, tapering from nothing at the neck to 0.50 at the armhole.
- If the armhole is stretched, run a row of stay tape or a narrow cotton tape along the stitching line and shorten the edge by easing it.
- If it is too low at the side, raise the underarm by re-cutting the curve 0.50 higher and re-finishing the edge.
- Press the armhole from the wrong side over a rolled towel, without stretching, after every fix.
Sewing the Armhole Finish
- Stay-stitch the armhole curve about an eighth of an inch inside the seam line before doing anything else.
- Binding: sew the strip to the right side, fold it over the raw edge, and stitch it down from the front, easing it round the curve without pulling it.
- Facing: sew the facing to the armhole right sides together, trim and clip the curve, press the seam to the facing and understitch it.
- Close the side seam and the shoulder seam after the finish if the pattern allows, so the armhole is worked flat.
- Tack the facing to the seam allowances by hand at the shoulder and the side seam, so it cannot flip out.
- Press the finished armhole over a rolled towel from the wrong side.
Armholes in Tailoring CAD
In tailoring CAD the armhole is drafted from the shoulder, bust and armhole measurements, and a sleeveless version simply raises the underarm and takes in the shoulder by the figures you enter. The front and back curves print with matching notches, and the binding or facing is drawn from the same curve, so it always fits the edge it finishes.
Our tailoring CAD software page shows how armholes, necks and sleeves are drafted from one set of measurements.
Questions Tailors Ask
How deep should a sleeveless armhole be?
About 6 to 6.5 inches for a sleeveless blouse and 7.5 to 8.5 inches for a sleeveless kurti, on a 36 bust. That is about half an inch higher at the underarm than the same garment with sleeves.
Why does my sleeveless blouse gape at the armhole?
The armhole is cut too low, or the curve stretched while it was handled. Raise the underarm, stay-stitch the curve and finish it without pulling.
Is a facing or a binding better for an armhole?
Binding is quick and suits cotton and kids' wear. A facing leaves nothing showing and suits silk and lined garments. Both work if the curve is stay-stitched and clipped.
How wide should the shoulder strap be?
About 2 to 2.5 inches on a sleeveless blouse, 2.5 to 3 inches on a sleeveless kurti, and 1.5 to 2 inches on a kids' frock.
Should the front and back armhole be the same?
No. Cut the front curve about a quarter inch deeper than the back, and keep the back flatter, so the armhole follows the shape of the body.
Can I add sleeves to a sleeveless pattern later?
Not safely. A sleeveless armhole is raised and the shoulder is taken in, so a sleeve will not fit it. Cut a sleeved garment from a sleeved pattern.
Raise It, Take In the Shoulder, Stay It
A sleeveless armhole is the most exposed edge on a garment. Raise the underarm, take in the shoulder, stay-stitch the curve, and finish it with a binding or a facing chosen for the cloth, and the armhole will sit against the body and stay there.
Book a free demo – on-site or online, in your language, with no commitment. Bring a sleeveless blouse that gapes at the armhole and we will draft it on screen.